
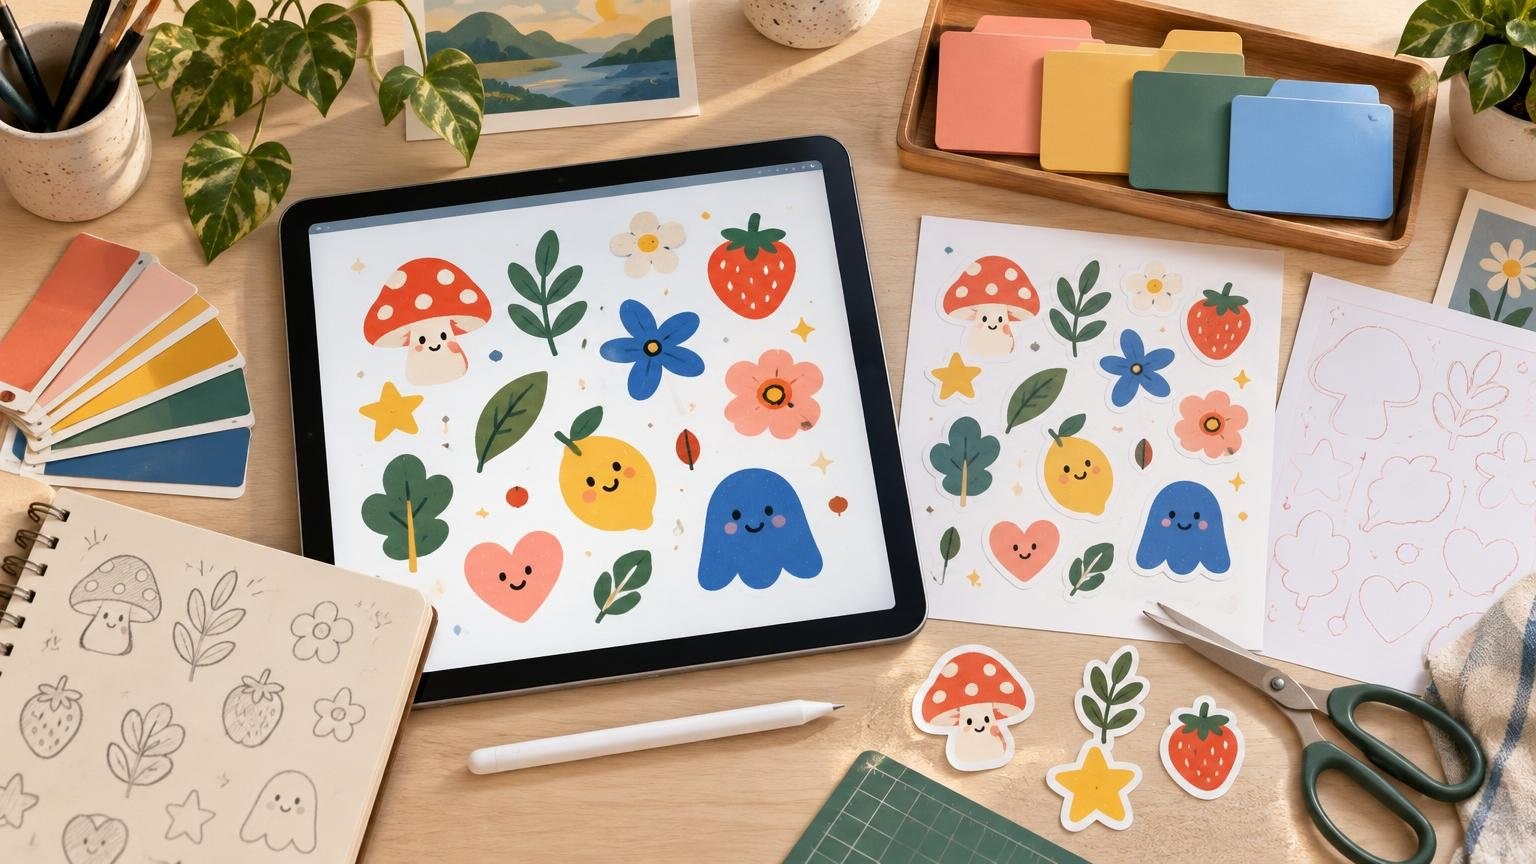
TLDR: To learn how to sell digital sticker designs, first decide exactly what the customer will receive: individual digital images, a printable sticker sheet, cutting-machine files, a customized digital file, physical stickers, or a clearly separated combination. Keep an editable master, export formats suited to the promised use, test every delivered file, document usage rights, and make listing images unmistakably clear about whether the product is digital or physical.
The hardest part of figuring out how to sell digital sticker designs is not opening a shop. It is creating a product that works after the buyer downloads it. A beautiful illustration can still disappoint if it has a white rectangle instead of transparency, prints at an unclear size, imports poorly into cutting software, or is presented with a mockup that looks like a physical item.
Decide what kind of sticker product you are selling
“Digital sticker” can describe several different products. Settle this question before creating exports because each route needs a different package and listing explanation.
- Individual digital stickers: Separate transparent images for digital planners, note-taking apps, presentations, or other screen-based projects.
- Printable sticker sheet: A page layout the customer prints at home or through a local service, usually accompanied by clear size and printing instructions.
- Cutting-machine artwork: Raster or vector files intended for workflows such as Print Then Cut or direct cutting.
- Made-to-order digital design: A personalized file that you prepare after receiving the buyer’s details.
- Physical sticker: You supply finished stickers rather than downloadable artwork. The design begins digitally, but production, materials, proofing, shipping, and production-partner disclosures become part of the product.
- Hybrid range: The same original design is offered in separate digital and physical listings, provided that each listing explains what the buyer receives and your licensing arrangements permit both uses.
On Etsy, digital products must be made and/or designed by the seller. The marketplace distinguishes instant downloads from made-to-order digital products, while relevant production partners must be disclosed for physical goods. Review Etsy’s current marketplace rules before listing because platform requirements can change.
Choose PNG, PDF, SVG, or a useful bundle
There is no universally best sticker format. Choose according to what the buyer needs to do, not according to which extension sounds most professional. Preserve the editable source document separately; do not rely on a customer export as your only master.
| Format | Best suited to | Main preparation concern |
|---|---|---|
| PNG | Individual raster stickers, digital planners, and transparent artwork | Export with genuine transparency, sufficient pixel dimensions, and no accidental background. |
| Printable sticker sheets, instruction pages, and fixed page layouts | Preserve the intended page size and verify that scaling instructions are clear. | |
| SVG | Scalable shapes and compatible cutting-machine workflows | Use clean paths, sensible layers, and properly handled text or effects. |
| JPG | Previews or artwork that intentionally has a solid background | JPG does not preserve transparency, so it is usually unsuitable for standalone transparent stickers. |
A PNG bundle is often the clearest choice for separate illustrated stickers. A PDF is useful when the page arrangement itself matters, such as an A4 or US Letter printable sheet. SVG is valuable when customers need scalable vector paths, but it is not automatically appropriate for painterly raster art. For a deeper explanation of the underlying behavior, see raster versus vector artwork for stickers.
Cricut identifies JPG, BMP, PNG, and GIF as basic raster uploads and SVG and DXF as vector uploads. Its documentation describes uploaded SVG and DXF files as cut-ready and notes that layered vector artwork can separate into layers after upload. Link buyers to Cricut’s current upload documentation where helpful, and test your own package against the workflow you advertise rather than promising compatibility from the file extension alone.
Build the artwork for its real output size
A sticker is normally viewed much smaller than the canvas on which it was drawn. Zooming in can make thin outlines, delicate textures, and tiny lettering appear stronger than they will at actual size. Preview every design at the intended physical dimensions and at approximately 100% screen scale for digital use. Simplify details that disappear, increase contrast where adjacent colors merge, and avoid making readability depend on hairline strokes.
For raster artwork, resolution only has meaning in relation to output size. A file may contain plenty of pixels for a small sticker but become soft when enlarged for a larger print. Start from the largest realistic output you intend to offer and review how canvas size affects digital art and print before generating smaller variants.
Keep important faces, lettering, and small decorative features away from the intended cut edge. A narrow border can make minor cutting variation look more obvious because the eye notices uneven spacing immediately. Either provide enough border to remain visually stable or use artwork that intentionally continues beyond the cut area.
Understand transparency, cutlines, and bleed
These terms solve different problems. Transparency removes the rectangular image background. A cutline indicates the path around which a machine or print provider should cut. Bleed extends printable artwork beyond the intended trim so small cutting variation does not reveal an unwanted unprinted edge. Adobe similarly defines bleed as artwork extending beyond the trim or crop area to account for cutting tolerance.
Do not invent a universal bleed distance or cutline offset. A home-cutting workflow, a downloadable page, and a commercial die-cut sticker order may each require different preparation. If the design will become a physical product, use the selected printer’s current template and upload rules. The broader concepts are covered in TutorArt’s guide to bleed, margins, resolution, and file types.
For physical editions, you can explore custom sticker production after the artwork is ready, but prepare the final upload against the provider’s current specifications. Check the accepted format, color guidance, cut-path method, border treatment, proof options, and any product-specific limits before exporting.
Create a buyer-ready download package
A strong download should feel organized the moment it is opened. Use descriptive filenames instead of names such as final2-new.png. If you sell several sizes or formats, encode those differences consistently: flower-blue-3in.png, flower-blue-digital.png, or floral-sheet-a4.pdf, for example.
Include a short readme document that states what is included, intended uses, software or workflow assumptions, printing scale, and where the buyer can find your license terms. Keep the directions concise. Buyers should not need specialist prepress knowledge to discover which file to open.
If you sell through Etsy, its digital-listing documentation currently states that an instant-download listing can contain up to five files, with a maximum of 20 MB per file, and that digital listings do not support variations. Those are marketplace-specific limits, not general design rules, and they should be rechecked before you package the product. If necessary, organize compatible files into clearly named archives rather than stripping away useful quality merely to reduce size.
Prepare each route separately
Printable sticker sheets
Define the page size, preserve that size in the exported layout, and tell buyers whether to print at actual size or use another specific scaling choice. Include a small test measurement when practical so they can detect unintended scaling. Remember that home printers, paper, adhesive media, and cutting methods vary; do not promise exact color or cut results across unknown equipment.
Cutting-machine files
Make paths as clean as the design allows. Remove stray points and hidden objects, confirm that intended holes remain open, and check how layers appear after import. If an effect depends on a mask, brush, font, or live appearance, verify that the exported file preserves the intended result. A decorative SVG that looks correct in a browser is not automatically an efficient cutting file.
Digital planner and app stickers
Transparent PNG files are usually the practical starting point. Export individual elements with consistent padding, inspect the edges for pale halos, and provide pixel dimensions rather than describing them as physically printable sizes unless you have also prepared them for print. Test the smallest designs at the viewing size a buyer will actually encounter.
Physical sticker production
Ask the printer for its current template or artwork instructions before creating the production export. Confirm how it wants cut paths, bleed, spot-color instructions, transparency, and fonts handled. A proof can reveal cut placement, edge treatment, color conversion, or small-detail problems that are difficult to judge from an on-screen mockup. Use the print-ready sticker artwork checklist when preparing this version.
Check ownership and commercial-use rights
Original visual artwork may qualify for copyright protection when it meets the applicable requirements, but using another person’s protected work in ways reserved to the copyright owner generally requires permission. The U.S. Copyright Office’s visual-art guidance provides a useful starting point for creators. This is an area where the facts and license terms matter, so avoid assuming that access to an asset means you can resell it as part of a sticker pack.
Review every external component: fonts, clip art, stock images, textures, brushes, patterns, templates, and AI-tool terms where relevant. Check whether the license permits commercial products, digital distribution, merchandise, editable files, and use in products where the asset provides most of the value. “Royalty-free” does not automatically authorize every resale or merchandise use.
Write your own customer license in plain language. At minimum, clarify whether the purchase allows personal use, limited commercial use, or broader commercial use; whether modification is allowed; whether the files can be shared; and whether the buyer may resell the artwork or distribute the source files. Do not offer rights that exceed the licenses attached to components in your design.
Make listing images accurate rather than merely attractive
Your first image should say “digital download” prominently if nothing physical will be shipped. Subsequent images can show the included designs, file formats, number of files, approximate dimensions, background transparency, and examples of intended use. If the product is a printable sheet, show the page shape and identify the page size.
Mockups help customers imagine the design in context, but conceptual renders should not be presented as photographs of a tested physical product. Avoid implying exact color, gloss, texture, thickness, or cut accuracy when those qualities have not been established. The guide to creating accurate product mockups explains how to communicate appearance without making the preview misleading.
Run a final preflight before publishing
- Open every customer file outside the editable master document.
- Confirm that transparent PNG files do not contain unwanted backgrounds or edge halos.
- Check pixel dimensions, page dimensions, orientation, and filenames.
- Import SVG or other advertised cut files into the intended workflow where practical.
- Print a page at the instructed scale if you advertise it as a printable sheet.
- Confirm that previews match the files actually included.
- Proofread the listing for clear digital-versus-physical wording.
- Verify all fonts, stock assets, brushes, textures, and other components against their applicable licenses.
- Review the current marketplace upload rules and the selected printer’s current production requirements.
- For physical goods, obtain a proof or sample when color, material, finish, or cutting behavior materially affects what customers will receive.
A practical way to sell digital sticker designs
Start with one clearly defined product rather than exporting every format you can generate. A polished transparent PNG collection, a properly sized printable PDF, or a tested SVG cutting bundle is more useful than a confusing folder of files with no stated purpose. Keep the editable master, explain the buyer’s workflow, test the exports, and separate digital downloads from physical products in your wording and previews.
If you later turn the same artwork into physical stickers, treat that as a new production branch. Revisit final size, cut shape, edge spacing, bleed, color, substrate, and proofing instead of sending the download file directly to print. That extra preparation is what carries a good on-screen design into a finished sticker without preventable surprises.
References
- What Can I Sell on Etsy? – Etsy Help
- How to upload images into Design Space – Help Center
- How to add printer’s marks and bleeds in Illustrator | Illustrator
- How to Manage Your Digital Listings – Etsy
- What Visual and Graphic Artists Should Know about Copyright | U.S. Copyright Office
- How to Create Stickers From Stock Images: Design and File-Prep Guide – Tutor Art
- How to Design a Product Mockup That Looks Good Without Misleading Customers – Tutor Art