
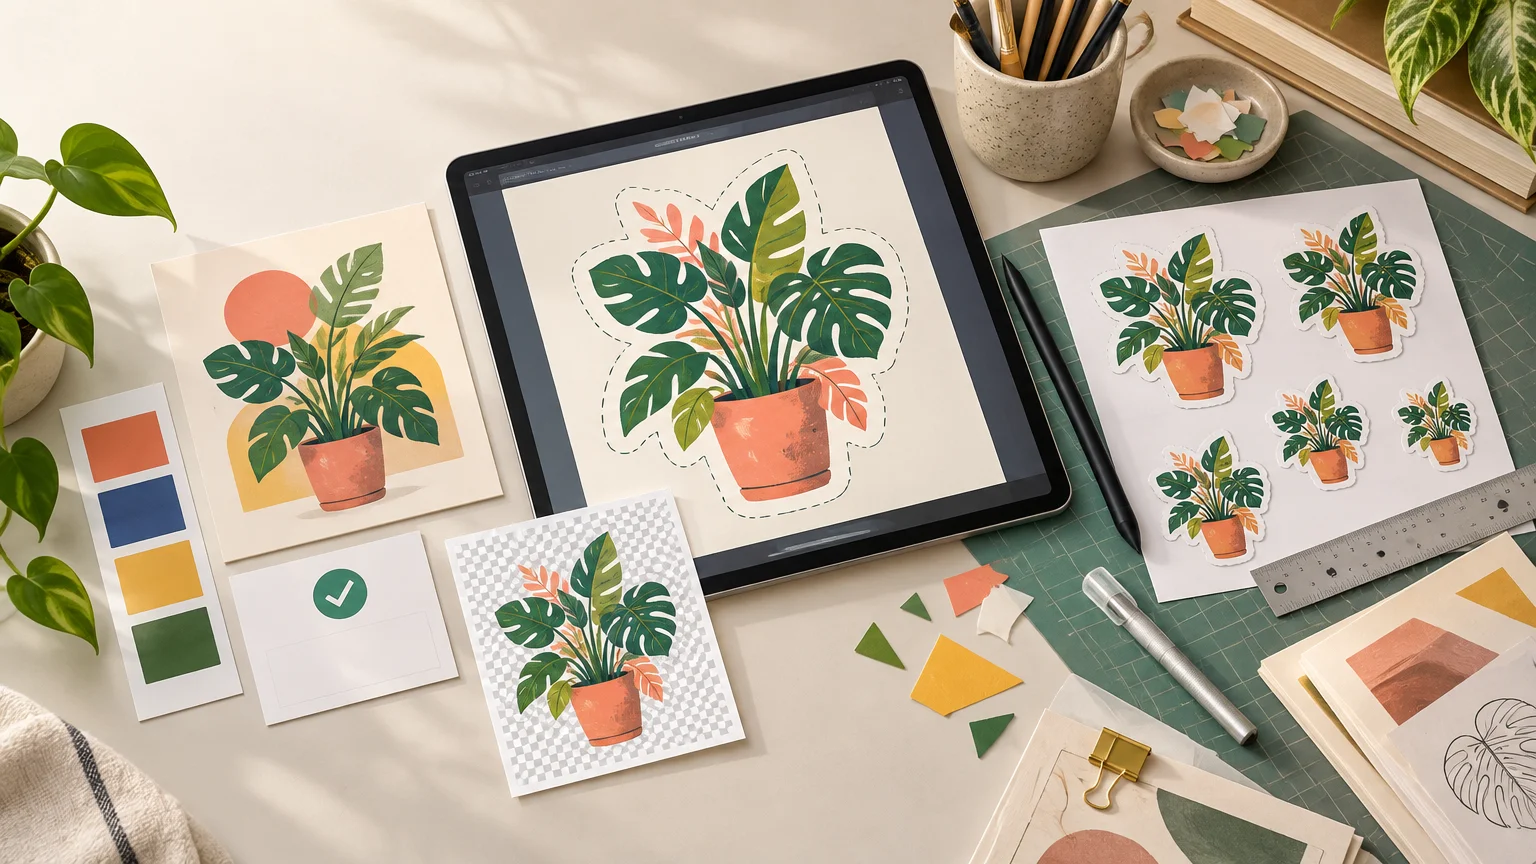
TLDR
To learn how to create stickers from stock images, start with the asset’s license—not the background-removal tool. Confirm that your intended personal, promotional, client, or resale use is permitted. Then build a sticker-specific composition, clean the edges, work at the intended physical size, and export a format accepted by your printer. A transparent PNG preserves transparent image areas, but it does not automatically mean the finished sticker will use clear material.
A stock image can provide the central photo, illustration, texture, or vector element in a sticker. The difficult part is making sure you have permission for that use and adapting the asset for a small, physically cut product. Simply downloading an image, deleting its background, and adding a white outline may not be enough legally or visually.
Decide what the sticker is for before choosing an image
The intended use determines which license questions matter. A sticker for your own sketchbook is different from a sticker included in customer orders, used as branded packaging, created for a client, or sold as merchandise. Write down the intended use before searching for an asset.
- Personal project: a sticker you do not distribute or sell.
- Promotional use: a giveaway, event sticker, or packaging seal.
- Client work: a design supplied to another person or business.
- Resale merchandise: the sticker itself is the product customers buy.
- Supporting element: the stock asset is one component within a broader original design.
Do not assume that “royalty-free” means unrestricted. It generally describes a licensing model, not a promise that every commercial, merchandise, resale, or distribution use is allowed. Read the terms attached to the specific provider, asset, and license tier.
Check the stock license before designing
Look for language covering merchandise, products for resale, print runs or distribution limits, client transfer, editorial use, and whether the stock asset may provide the primary value of the finished product. Save the receipt, asset identification, license name, and a copy or dated record of the applicable terms with your editable design file.
For example, the current Adobe Stock license information distinguishes between its Standard and Extended licenses. Adobe states that its Standard license does not permit merchandise where the asset is the primary value, while its Extended license permits certain merchandise and resale uses subject to the terms. Adobe also applies separate limitations to editorial assets. These are Adobe-specific rules, not universal stock-image rules.
Adding text, changing colors, tracing the subject, or placing a border around an image does not automatically create merchandise rights. Visual transformation and licensing permission are separate questions. If the terms are unclear, ask the stock provider about the exact use before investing time in the design.
Be especially cautious with editorial-only images and assets showing recognizable people, trademarks, artwork, characters, or private property. A stock license may not resolve every publicity, trademark, or property issue. For a commercial project with unresolved rights questions, consult the provider or qualified legal counsel rather than guessing.
How to create stickers from stock images that read clearly
A good stock image is not automatically a good sticker. Stickers are usually viewed quickly and at a relatively small size. Intricate scenery, weak silhouettes, narrow gaps, and low-contrast details can become visually confusing once the artwork is reduced and cut.
Start by identifying the part that should be recognizable from a short distance. Crop toward that subject and remove elements that compete with it. If a photo contains a person against a busy street, for example, the sticker may work better as a simplified portrait with a solid background shape than as a detailed contour cut around every strand of hair.
You can make the composition feel intentional by combining the licensed asset with original typography, color fields, drawn accents, textures, or a framing shape. These changes can improve the design, but they do not replace the license check.
Choose a deliberate edge treatment
The outer edge affects both appearance and production. Three practical approaches are common:
- A clean contour follows the main subject and works well for simple silhouettes.
- A white or colored outline separates the image from the sticker’s eventual surface and gives small protruding details more visual support.
- A geometric or illustrated background shape avoids an excessively intricate cut path and can unify several stock elements.
Do not force the cut path to follow every hair, leaf, sparkle, or narrow gap. A simplified perimeter is often easier to inspect and gives the finished sticker a stronger silhouette. Keep text and essential facial or product details comfortably inside the edge rather than treating the cut line as a perfectly fixed boundary.
Remove the background without damaging the subject
Automatic background removal is a starting point. Adobe Express documents a workflow that removes a background and allows the result to be downloaded as a transparent PNG after the background is set to no fill. Adobe also recommends inspecting fine or low-contrast details after automatic removal.
Photoshop’s documented Remove Background action can produce transparency or a masked layer. A mask is useful because you can refine the edge without permanently erasing pixels. Adobe’s Photoshop background-removal guide also covers mask refinement when the automatic result needs correction.
Inspect the cutout against several temporary background colors. A pale halo may disappear on white but become obvious on dark vinyl; a dark fringe can do the opposite. Zoom in to refine the mask, but also inspect the image at its intended print size. An edge that looks alarming at extreme magnification may be invisible in print, while a missing chunk of hair may remain obvious at actual size.
For difficult subjects such as fur, smoke, translucent fabric, or foliage, consider keeping a controlled background shape instead of pursuing perfect transparency. The goal is a convincing printed edge, not the most complicated possible mask.
Keep raster and vector artwork on the right path
Photos and painted illustrations are normally raster images made from pixels. Their available detail depends on pixel dimensions and final output size. Vector artwork is built from paths and can usually be resized without the same pixelation, although embedded photos and raster effects remain resolution-dependent. See raster versus vector behavior for stickers for a fuller comparison.
Preserve vector stock artwork as vector when your editing software and printer workflow allow it. This keeps curves, lettering, and simple shapes crisp and makes contour editing easier. For a raster image, avoid repeatedly enlarging, shrinking, and exporting intermediate copies. Keep an editable master with masks, text, and effects intact, then produce a separate upload file.
Evaluate resolution at final physical size
A pixel count becomes meaningful only when paired with the intended print dimensions. Divide the pixel width by the printed width in inches to estimate effective pixels per inch. An image 1,800 pixels wide printed at 6 inches is 300 pixels per inch; the same image enlarged to 12 inches is 150 pixels per inch.
That calculation does not establish a universal acceptance threshold. Photographic detail, viewing distance, intentional texture, printer process, and the provider’s requirements all matter. Set the sticker to its intended dimensions, view it at actual size where practical, and check the printer’s current resolution guidance. The broader print design basics guide explains how resolution relates to bleed, margins, and file setup.
Choose PNG, JPEG, SVG, or PDF according to the artwork
Use a format that preserves the features your design needs and that your chosen printer accepts. Adobe documents that PNG supports background transparency while JPEG does not. A JPEG can still be appropriate for a rectangular or background-filled design, but it cannot preserve a transparent perimeter.
- PNG: useful for raster artwork that needs transparent image areas.
- JPEG: useful for flattened raster artwork with a complete background and no transparency.
- SVG, AI, or EPS: potentially suitable for vector shapes and paths when accepted by the printer.
- PDF: useful for some complete print layouts, especially when the provider supplies PDF-specific instructions.
Format names alone do not guarantee a good file. A low-resolution image saved as a PNG remains low resolution, and placing a pixelated photo inside a vector file does not make the photo scalable. If you are deciding between common exports, PDF versus PNG for printing covers the practical tradeoffs.
Transparency, clear material, and cutlines are different things
Transparency in a file describes where the artwork has no visible pixels. It does not specify the physical sticker material. A printer may interpret those areas as white vinyl, clear stock, or space outside a contour, depending on the product and workflow.
For example, CustomStickers.com states that it accepts high-resolution raster files such as PNG and JPG as well as vector formats including SVG, AI, and EPS. It also states that transparent artwork regions on its classic vinyl sticker product appear as white sticker material rather than clear areas. If you plan to order custom stickers, choose the material deliberately instead of assuming a checkerboard background in your editor guarantees a see-through result.
Cutline, bleed, and edge rules are also printer-specific. CustomStickers.com says its cut line for full-bleed stickers is brought about 0.03 inches inside the artwork and advises keeping critical elements away from the edge. That guidance applies to its stated workflow and should not be treated as a universal measurement.
Unless the provider asks you to create a separate cutline, do not invent one based on another printer’s template. Confirm whether the printer generates the contour automatically, requires a named spot-color path, supplies a proof, or expects bleed beyond the intended trim.
Final stock-image sticker checklist
- The specific asset and license tier permit the intended personal, promotional, client, or resale use.
- The downloaded file is the licensed asset, not a watermarked preview or low-resolution comp.
- Editorial-only restrictions and any relevant people, property, character, or trademark concerns have been reviewed.
- The main subject remains clear when the design is viewed at intended print size.
- Background-removal edges have been checked against light and dark colors.
- Hair, leaves, narrow gaps, and other fragile details have been simplified where appropriate.
- Text is readable and important details sit safely inside the expected cut area.
- Raster resolution has been evaluated at final physical size; vector elements remain vector where useful.
- The export preserves required transparency, color, fonts, and effects.
- The selected printer accepts the format and has confirmed its current cutline, bleed, resolution, and material rules.
- Transparent image areas have not been confused with clear sticker material.
- An editable master and the stock license records have been retained.
- The printer’s proof has been checked at actual dimensions, including edge placement and material choice.
Prepare the license and the physical design together
The safest workflow is sequential: define the use, verify the license, build a sticker-oriented composition, clean the image, size it for the physical product, and then match the export to the selected printer. Do not leave licensing until after the design is finished or treat the upload preview as a substitute for file inspection.
Your next step is to choose one candidate stock asset and answer two questions before editing: “Does this license cover my exact use?” and “Will this subject remain clear at the sticker’s actual size?” If either answer is uncertain, select a different asset or simplify the concept before preparing the production file.