
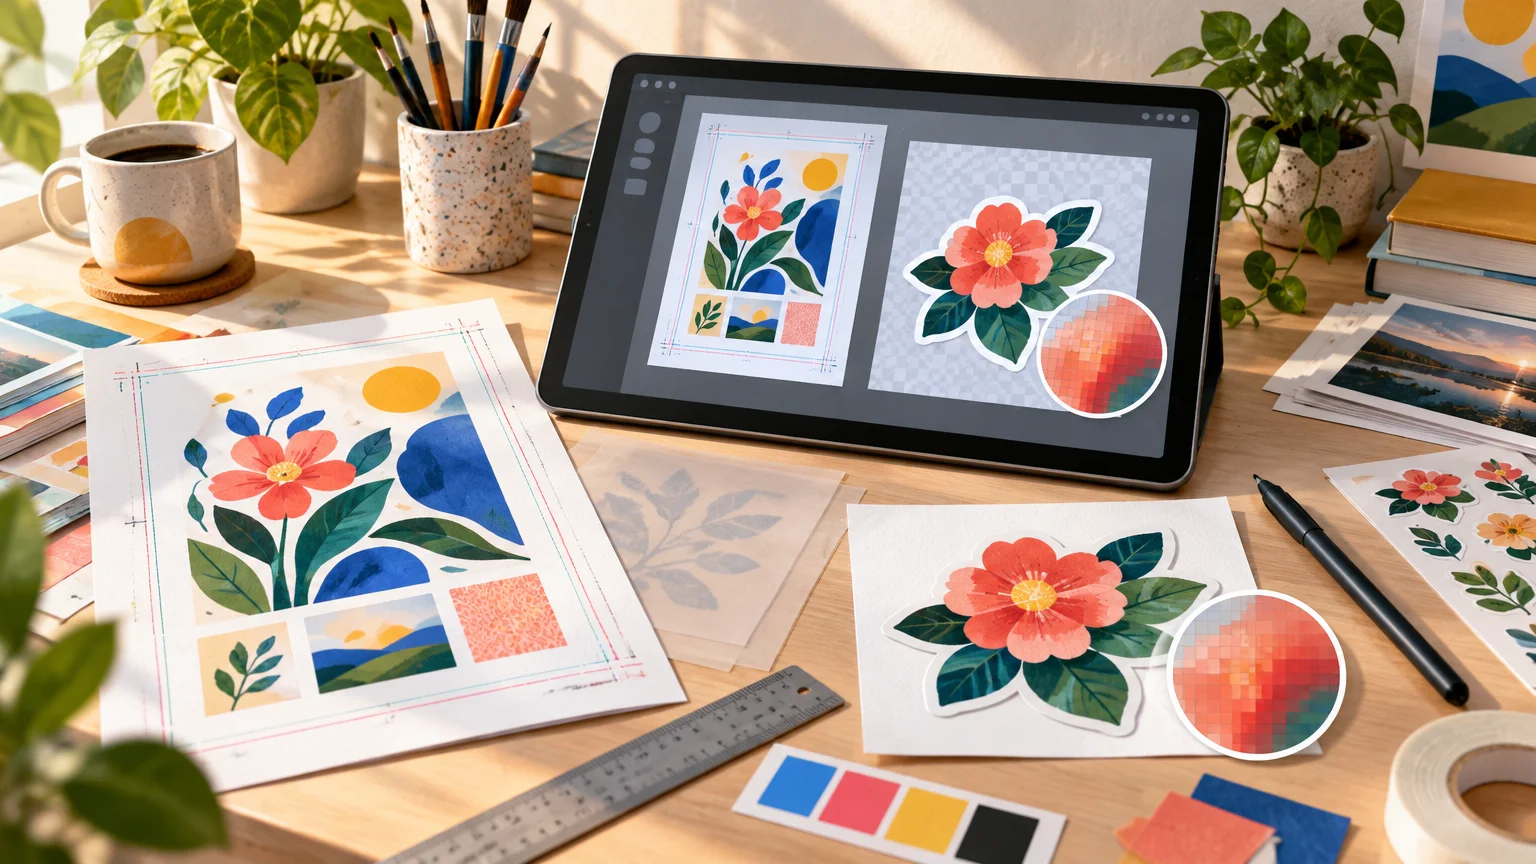
TLDR: Choose a print-ready PDF for most finished layouts, especially when the design contains text, logos, vector artwork, multiple pages, folds, or precisely positioned elements. Choose PNG only when the job is a single raster image, its pixel dimensions support the final print size, and the printer explicitly accepts PNG for that product. The printer’s template and upload instructions override generic advice.
The practical answer to PDF vs PNG for printing is not that one format always produces better color or sharper output. The better file is the one that preserves the artwork appropriately while meeting the chosen printer’s production rules. A perfect-looking PNG may still lack bleed, while a PDF can contain an undersized image that prints softly.
Start with the physical product rather than the export button. Confirm the finished dimensions, download the current template, and check accepted file formats, bleed, safe area, color instructions, and any finishing requirements. PrintRunner, for example, says it accepts PNG but identifies PDF as its preferred submission format. Its general guide also publishes specific requirements for color, resolution, and bleed, but those requirements belong to that provider and may vary by product.
PDF vs PNG for printing at a glance
| Consideration | PNG | |
|---|---|---|
| Best typical use | Complete print layouts with text, vectors, images, pages, bleed, or production settings | A single raster illustration or image accepted by the printer |
| Image structure | Can contain raster images, vector objects, and text | Raster pixels only |
| Scaling | Vector content can remain sharp when scaled; embedded raster images still have resolution limits | Sharpness depends on pixel dimensions at the final physical size |
| Transparency | Can support transparency, although the requested PDF standard may affect handling | Supports alpha transparency |
| Color workflow | Can carry managed print workflows, including provider-directed conversion and output profiles | The PNG specification uses an RGB color model rather than CMYK |
| Layout controls | Suited to page dimensions, bleed, multi-page work, and production-directed export options | The canvas can include bleed, but the file does not inherently identify trim or safe-area rules |
| Main risk | An incorrect export preset, profile, compression choice, or page setup can still cause problems | Insufficient pixels, missing bleed, unintended RGB conversion, or misunderstood transparency |
When PDF is usually the better print file
PDF is normally the safer delivery format when you are submitting a complete designed page rather than one isolated image. That includes business cards, invitations, brochures, posters with typography, packaging layouts, and documents containing several visual elements.
The advantage is organization. A PDF can package the page size, placed images, vector artwork, and text into one deliverable. Depending on the export workflow, it can also include bleed and other production information. This reduces the chance that a logo, caption, or background will move because the printer had to reconstruct the layout from separate files.
PDF does not make every element infinitely scalable. A vector logo may remain crisp, but a low-resolution photograph placed beside it is still a low-resolution photograph. Exporting the page as PDF does not manufacture missing detail in that image.
PDF is especially appropriate when the design has:
- Live or outlined typography that must stay precisely positioned
- Vector logos, icons, line art, or geometric illustrations
- Several images arranged within a fixed page
- Multiple pages that must remain in sequence
- Folds, panels, dielines, or other product-template geometry
- Background artwork extending through the required bleed
- A printer-requested PDF standard or output profile
If you are building the layout in Adobe InDesign, review the broader InDesign print-preparation workflow before export. It covers the checks that need to happen before the PDF is created, including linked images, document size, fonts, colors, and preflight.
When PNG can be appropriate
PNG can work well when the deliverable is a single raster image and the printer accepts it. Examples include a flattened digital painting, a simple rectangular art print, or transparent artwork uploaded to a supported sticker-ordering workflow.
The W3C PNG specification defines PNG as a losslessly compressed raster format supporting grayscale, truecolor RGB, indexed color, and optional alpha transparency. Lossless compression prevents JPEG-style compression artifacts from being introduced when the PNG is saved, but it does not make the artwork independent of resolution.
A PNG is a grid of pixels. Its usable print size therefore depends on both its pixel dimensions and the resolution expected for the specific product. For example, a 3600 × 2400-pixel image placed at 12 × 8 inches has 300 pixels per inch in each direction. Enlarging the same file to 24 × 16 inches reduces that effective resolution to 150 PPI.
Neither number is a universal verdict on quality. Viewing distance, substrate, artwork style, print process, and the provider’s requirements all matter. The important habit is to calculate effective resolution at final size rather than describing a file as simply “300 DPI.” For help planning the source artwork before drawing, see how to choose a digital canvas size for print.
Use a PNG only after confirming all of the following:
- The selected printer and product accept PNG uploads
- The artwork is meant to be raster rather than editable vector content
- Its pixel dimensions support the final requested dimensions
- The canvas includes any required bleed
- Important details stay inside the provider’s safe area
- The provider explains how it handles RGB artwork and color conversion
- Any transparency is supported for the selected product
A PDF wrapper cannot repair a small PNG
Changing the extension from .png to .pdf is not meaningful file preparation. Placing a small PNG into a layout and exporting that layout as PDF also leaves the original pixel grid unchanged. If a 1200-pixel-wide illustration is enlarged to four times its intended physical width, a PDF container cannot restore the missing detail.
Inspect the underlying artwork before conversion. Raster illustrations, photographs, and textured brushwork need enough pixels for their placed size. Vector shapes are mathematically defined and can usually scale without the same pixelation, although raster effects embedded in vector artwork still have their own resolution. The distinction is explained further in raster versus vector artwork for print.
Color differences between PDF and PNG
PNG uses an RGB-based color model under the PNG specification. That does not automatically make every PNG unusable for print, but it means the printer may need to convert its colors for a CMYK or otherwise color-managed production workflow. Bright screen colors may shift because a display and a printing process do not reproduce color in the same way.
A PDF can participate in a more controlled color workflow, but “save as PDF” is not itself a color-management strategy. The file may contain RGB images, CMYK elements, spot colors, or a mixture, depending on how it was built and exported. Use the profile and conversion settings requested by the printer rather than selecting a generic CMYK profile because it sounds print-ready.
PrintRunner’s general preparation guide currently asks for CMYK files, while also listing PNG among its accepted formats. The supplied guidance does not explain every conversion detail for every PNG product, so a creator using PNG should confirm how that particular upload will be processed.
Bleed and safe area matter in either format
File format does not solve page geometry. Bleed is artwork extending beyond the final trim edge so small cutting variation does not expose an unintended white strip. Safe area is the inward buffer that keeps text, faces, logos, and other critical details away from that trim edge.
A PDF can store a defined page and bleed setup, while a PNG needs those extra pixels built into its canvas. In either case, the amount must come from the selected product’s current template. PrintRunner’s general guidance calls for 0.125 inch of bleed on each side for most products and identifies missing bleed, low image resolution, safe-area problems, color mode, and borders as common file issues. That measurement should not be treated as a universal rule or assumed for every PrintRunner product.
Borders near the trim deserve special care. Even if every file dimension is correct, ordinary cutting tolerance can make a narrow border look uneven. Moving the border farther inward, making it wider, or removing it often creates a more forgiving design. For a fuller explanation, consult TutorArt’s guide to bleed, margins, resolution, and file types.
Transparency does not automatically create a sticker cut line
A transparent PNG can isolate artwork from a rectangular background, which is useful in some sticker upload systems. However, transparency does not inherently tell a printer where to cut, how wide to make a white border, or whether interior transparent spaces should be removed.
Those decisions depend on the provider’s contour-cut workflow. Some products may generate a cut path from uploaded artwork; others may ask for a separate vector path, template layer, or proof approval. If you are preparing files for custom sticker printing, check the selected product’s current artwork instructions before assuming the transparent edge will become the finished sticker edge.
Also inspect tiny gaps, loose pixels, soft shadows, and semi-transparent glows. They may influence an automatically generated contour in unexpected ways or create very delicate printed edges. The sticker artwork preparation checklist covers cutlines, borders, readable detail, and other sticker-specific concerns.
How to export a print PDF from InDesign
Adobe’s documented InDesign workflow uses File > Export and Adobe PDF (Print). Its print-PDF options cover PDF/X standards, bleed, printer’s marks, preflight, color conversion, and destination profiles. Adobe also says to select printer’s marks when required and to use the color profile specified by the print provider.
Use the current Adobe print-ready PDF instructions for the software controls, but obtain the actual export choices from your printer. Do not assume PDF/X-1a, PDF/X-4, Press Quality, crop marks, or a particular profile is universally correct.
- Set the document to the final trim size and add the product’s required bleed.
- Check links, effective image resolution, overset text, fonts, and preflight warnings.
- Choose File > Export, then select Adobe PDF (Print).
- Select only the PDF standard, compatibility, compression, marks, bleed, and color settings requested by the provider.
- Export the PDF and inspect the exported file rather than relying only on the InDesign page.
- Confirm that the page dimensions, bleed, text, images, and colors appear as intended before upload.
Pre-upload and proof checklist
Whether you submit a PDF or PNG, run the file through this final check:
- The file type is accepted for the exact product being ordered
- The final physical dimensions match the order
- Raster artwork has suitable effective resolution at that size
- Required bleed is present on every applicable edge
- Text, logos, faces, and other critical elements remain inside the safe area
- Borders are wide and inset enough to tolerate ordinary trimming variation
- Color mode, embedded profile, and conversion choices follow the provider’s instructions
- Fonts and thin lines meet the provider’s published requirements
- Transparency, white ink, cut paths, folds, or specialty finishes are prepared as instructed
- Crop marks or other printer’s marks are included only when requested
- The uploaded proof shows the expected scale, crop, orientation, page order, and cut shape
PrintRunner’s general guide, for example, publishes a 600 MB maximum file size and recommends text of at least 8 pt and lines of at least 0.5 pt. These are useful examples of the details a provider may specify, not universal minimums for every commercial printer.
Choose the format after choosing the print workflow
For most complete commercial-print layouts, submit a properly prepared PDF. For one flattened raster image, PNG can be entirely appropriate when the printer accepts it and its pixels, bleed, transparency, and color workflow are suitable for the final product.
The best next step is simple: open the product template and upload instructions before exporting. If they request PDF, build a true print-ready PDF rather than wrapping an inadequate image in one. If they accept PNG, calculate its effective resolution at final size and confirm how bleed, RGB color, transparency, and cutting will be handled. Format is the container; the physical print result still depends on what you put inside it.