
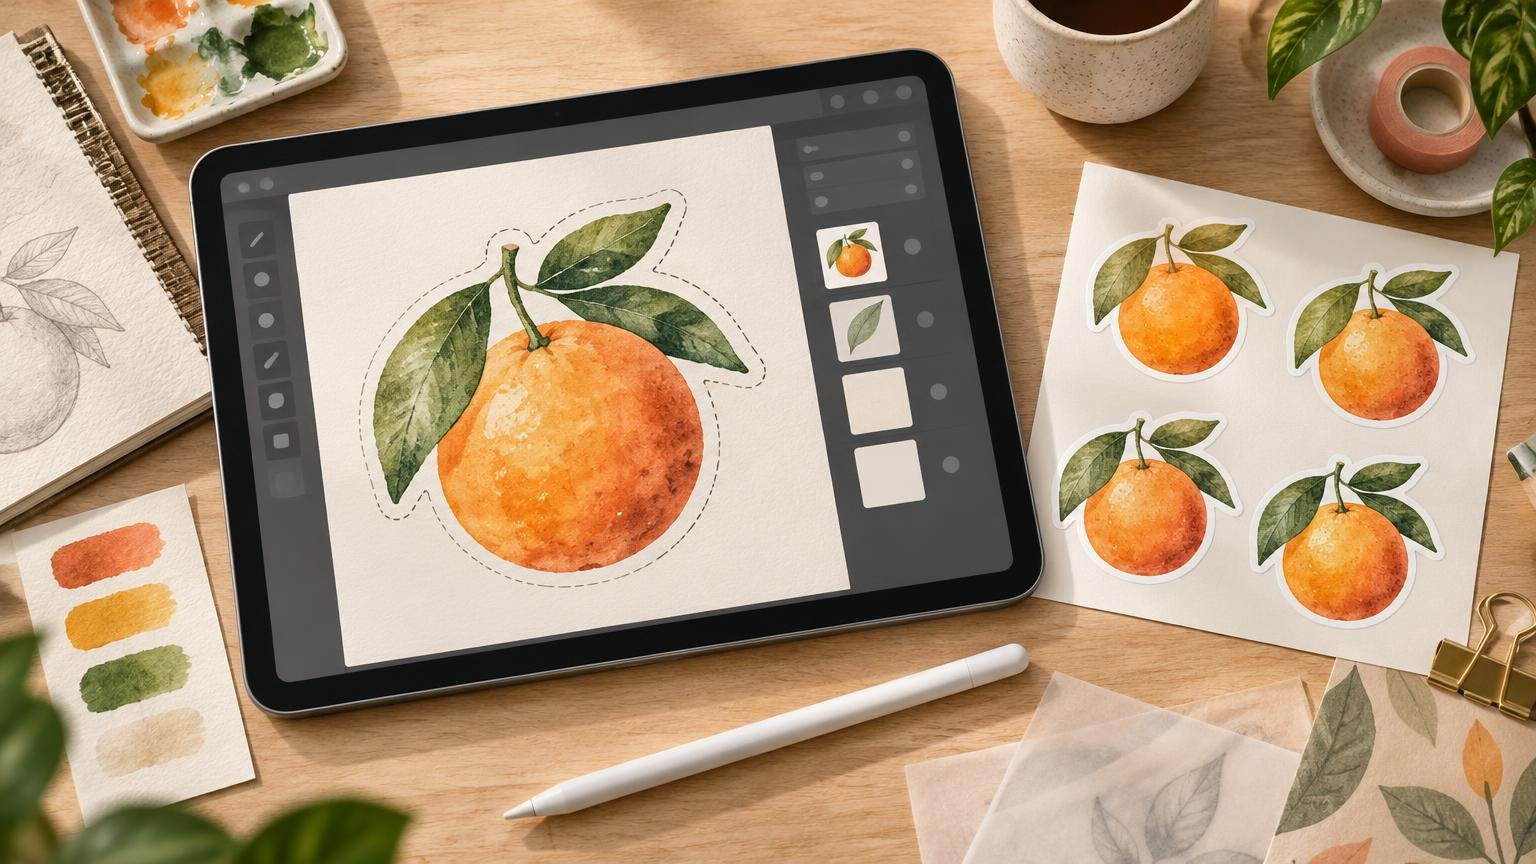
Textured Procreate artwork can make a beautiful sticker, but the file needs a careful distinction between texture you want to print and stray pixels you do not. Plan the canvas at the final output size, preserve editable layers, clean only the outer silhouette, and export a transparent PNG for the visible composite. Keep the layered original in case the printer requests changes.
TL;DR: Protect the texture, clean the perimeter
- Create the canvas for the sticker’s intended physical size and target resolution.
- Keep paint, grain, masks, outlines, and background elements on separate layers where practical.
- Hide the canvas background and inspect the entire outer edge for unwanted pixels.
- Use masks for reversible cleanup, especially around pale or semi-transparent artwork.
- Save a layered .procreate master, then export the finished composite in the format requested by your printer.
- Confirm bleed, safe area, color mode, cutline handling, and acceptable file formats with the specific provider.
Plan the canvas around final sticker size
Procreate artwork is raster artwork, so its detail depends on the relationship between pixel dimensions and final physical size. The basic calculation is intended inches multiplied by target pixels per inch. At 300 PPI, a 2-inch square design requires 600 × 600 pixels, a 3-inch square requires 900 × 900 pixels, and a 4 × 2-inch design requires 1200 × 600 pixels.
The Procreate canvas documentation explains that a custom canvas can be defined in pixels, inches, millimeters, or centimeters with a selected DPI value. Procreate treats 300 DPI as its standard print target, while Canvas Information shows the file’s pixel dimensions, physical dimensions, and DPI. Always compare that target with your printer’s requirements rather than treating one resolution as universal.
Changing the DPI number on an existing canvas changes its reported physical size, not the pixels already present. Resampling can create additional pixels through interpolation, but it cannot recover brush detail that was never captured. Start large enough instead of relying on enlargement at export. This distinction is especially important for fine speckles, dry-brush edges, and paper-like grain.
Larger canvases also reduce the maximum number of layers Procreate can provide, with the limit depending partly on the iPad hardware. Plan dimensions and layer needs together before building a complex illustration. For a broader explanation of this tradeoff, see raster versus vector artwork for stickers and print design.
Build layers that separate texture from cleanup
A practical file might contain separate layers for the main paint, linework, internal grain, highlights, outline, and any temporary background used for inspection. This does not affect the flattened sticker by itself, but it makes corrections much safer. You can soften a texture layer without erasing the illustration or adjust an outline without disturbing the paint beneath it.
Grain can be applied on a separate layer with opacity or blend modes, while masks provide reversible control over visible areas. Procreate brushes can also use Moving grain for a dragged, paint-like result or Texturized grain for a more consistently repeated texture. Judge these effects at approximately the sticker’s final physical size: texture that looks delicate while zoomed in may merge into a dark patch when printed small.
Keep a native .procreate master before flattening anything. That format retains layers, masks, effects, Canvas Information, and embedded time-lapse data. PSD can preserve layers, names, opacity, visibility, and blend modes for a Photoshop-compatible handoff, although the receiving workflow should still be checked for effect compatibility.
Make the outside transparent without erasing intentional grain
Hide the Background Color layer, then place temporary light and dark inspection layers beneath the artwork. A pale halo is easier to see against black; isolated dark specks are easier to see against white. Inspect the full perimeter, narrow gaps, and spaces between separate elements.
Procreate provides Automatic, Freehand, Rectangle, and Ellipse selections, along with Invert and Layer Masks. Feather softens a selected edge, while 0% feathering retains a crisp boundary. A mask is often safer than permanent erasing when the edge contains pale watercolor, soft paint, or semi-transparent grain. It lets you decide whether a faint pixel is a mistake or part of the style.
Alpha Lock serves a different purpose: it confines painting to pixels already present on a layer. It is useful for recoloring or shading existing artwork, but it must be disabled before changing the outer silhouette.
Do not scrub every semi-transparent pixel from the design. Internal grain, translucent paint, and a transparent outer background are three different pixel conditions. Your goal is to remove accidental material outside the intended silhouette while retaining controlled variation inside it. The guide to transparent and white print backgrounds explains why transparency alone does not request clear material, white ink, or a particular cut shape.
Treat bleed and the cutline as separate decisions
Bleed is artwork extending beyond the trim boundary so normal cutting variation is less likely to expose an unprinted gap. It is separate from both the transparent background and the cutline. A raster artwork edge is not automatically a production cut path; some printers generate the contour, while others request a supplied vector path.
If the printer wants bleed, extend suitable color or texture beyond the intended trim instead of scaling the entire design at the last moment. Keep important faces, text, and fine details comfortably inside the provider’s stated safe area. The exact bleed and safe-area values vary, so follow the printer’s template. Adobe’s explanation of printer marks and bleed provides useful general context, while your sticker provider’s specifications control the submitted file.
Export the visible composite without sacrificing the master
For a transparent finished image, hide the background and use Actions, Share, then PNG. Procreate’s PNG export is lossless, flattened, and supports transparency, so it preserves the visible composite—including grain, opacity, and blended texture—but not editable layers. JPEG is also flattened, uses lossy compression, and does not support transparency. The current options are documented in the Procreate sharing and export guide.
After export, reopen the PNG against light and dark backgrounds. Check that the transparent perimeter survived, the texture remains visible at final size, and no inspection layer was accidentally included. Keep the .procreate master beside the delivery file rather than treating the PNG as your only copy.
Procreate assigns a color profile when a canvas is created. An existing canvas cannot simply be switched between RGB and CMYK in place; the documented workflow is to create a new canvas with the target profile and transfer the layers. Do this only when it matches the printer’s requested workflow, because submission color mode and output conversion practices vary.
Run one final sticker-proof check
- Confirm the exported pixel dimensions against the intended physical size.
- View the design at approximately its final printed size, not only while zoomed in.
- Inspect the silhouette on both light and dark backgrounds.
- Confirm that intentional grain remains inside the artwork and stray pixels do not.
- Check small type, thin lines, shadows, and low-contrast texture for readability.
- Verify the provider’s bleed, safe-area, cutline, profile, and file-format instructions.
- Review the proof for contour placement, border consistency, color changes, and any lost texture.
When you are ready to order, use the provider’s current template and submission instructions; CustomStickers offers custom sticker and artwork-preparation options that can provide a practical next step. The complete creator-to-order process is also covered in the beginner sticker design workflow.
The safest workflow is simple: build at final size, keep texture editable, clean the outside with restraint, and preserve a layered master. A transparent PNG should represent the finished appearance, while the original Procreate file remains your route back to every brushstroke, mask, and grain decision.
References
- Canvas — Procreate Handbook
- How To Turn Your Artwork Into Stickers – Tutor Art
- Create — Procreate Handbook
- Brush Studio — Procreate Handbook
- Blend Modes — Procreate Handbook
- Mask — Procreate Handbook
- Share — Procreate Handbook
- Crop and Remove Background — Procreate for iPad Help Center
- Interface and Gestures — Procreate Handbook
- Add printer marks and bleeds
- Beginner Sticker Design Workflow From Idea to Print — Design and File-Prep Guide – Tutor Art
- How do I switch my existing artwork from CMYK to RGB? — Procreate for iPad Help Center