
TLDR
Black point compensation printing is a color-conversion choice that can preserve separation among dark tones when the destination print condition cannot reproduce the source’s deepest black. It does not add ink, create a richer black, or repair shadows already crushed in the artwork. Use the correct output profile, compare the result with BPC enabled and disabled, and approve a physical proof when shadow detail is important.
Black point compensation printing matters because a monitor can show deep blacks and subtle shadow differences that a particular combination of printer, ink, and substrate cannot reproduce. BPC attempts to fit those dark distinctions into the printable tonal range. Whether that improves the image depends on the artwork, profile pair, rendering intent, and production condition.
What black point compensation means
Every color profile describes a particular color space or output condition, including how dark its reproducible black can be. When an image moves from a source profile with a very deep black point to an output profile with a lighter black point, some near-black values can fall outside the destination’s usable range.
Black point compensation, usually shortened to BPC, maps the source black point toward the destination black point while also accounting for the source and destination white points. Its purpose is to retain tonal distinctions that might otherwise be clipped during conversion. The ICC’s technical white paper on black-point compensation explains this mapping behavior in detail.
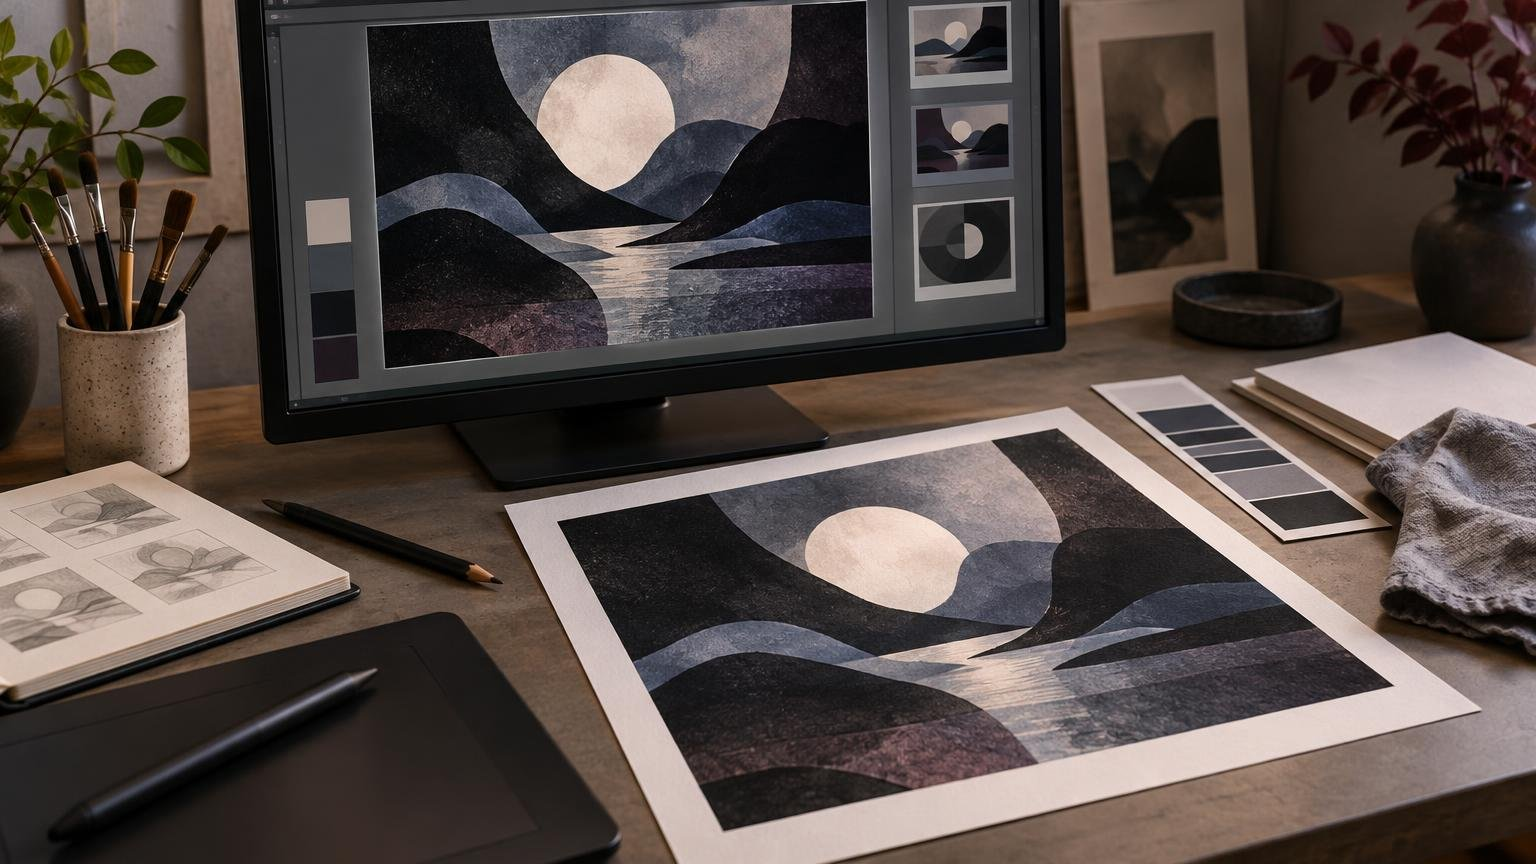
Imagine a dark illustration containing a black jacket, charcoal folds, and a faint blue reflection. Without suitable shadow mapping, all three areas may convert to nearly the same printable value. BPC may compress the source shadows so those differences remain visible, although the resulting shadows can look lighter or less contrasty. That is the tradeoff: retained detail versus a change in tonal placement.
What BPC does not do
BPC is a profile-conversion behavior, not an ink or object-color setting. Keeping that distinction clear prevents several common mistakes.
| Setting or concept | What it controls | How it differs from BPC |
|---|---|---|
| Black point compensation | Shadow mapping during conversion between color profiles | It can remap near-black tones but does not define an ink recipe |
| 100K or process black | An object using black ink alone in a CMYK document | It specifies colorant values rather than tonal conversion behavior |
| Rich black | A CMYK build combining black with other process inks | It changes ink construction and must suit the press and stock |
| Registration black | A production color intended to appear on every separation | It is for registration marks, not ordinary artwork |
| Levels or Curves edits | The actual pixel values and contrast in an image | These edits alter the artwork; BPC acts during a managed conversion |
| Rendering intent | The broader strategy for mapping colors between gamuts | It works alongside BPC but is not the same choice |
If an image file already contains a flat area of identical black pixels, BPC cannot recreate texture that is no longer present. Return to the editable source, inspect the histogram and layers, and adjust the image itself if recoverable detail still exists. For object-level black construction, see the distinction between registration black, rich black, and 100K black.
Why the actual print condition changes the answer
Printed black is viewed through light reflected from a physical surface rather than light emitted by a display. The achievable black point and visible shadow separation therefore depend on the complete output condition: device, ink or toner, substrate, calibration, screening, and production mode.
A process-color guide discussed by WhatTheyThink emphasizes matching color information to the actual machine, paper, ink, and production mode. It also notes that paper weight can affect suitable CMYK combinations. This is why a generic CMYK profile or an unidentified “coated” preset is not a dependable substitute for the profile and instructions associated with the real process.
A dark painting may retain more apparent depth on one coated stock than on a different production condition. On another surface, the same file may show a lighter black point or less separation in deep shadows. BPC can influence how the conversion handles that mismatch, but it cannot make the second condition reproduce a black beyond its physical capability.
Start by identifying the profile for the documented output condition. The practical guide to ICC profiles for printing explains how profiles describe specific devices and conditions rather than providing a universal definition of “print color.” For broader background on how processes and materials affect output, consult printing-production coverage from Printiverse.
Should you enable black point compensation for print?
Treat BPC as a setting to evaluate, not a checkbox that is always correct. It deserves particular attention when the image contains important distinctions near black or when the source and destination profiles have substantially different black points.
- Night scenes with detail in buildings, skies, or dark clothing
- Black-on-black products, textiles, hair, or animal fur
- Dark foliage containing several similar green and blue tones
- Monochrome artwork whose depth depends on gradual shadow transitions
- Dark gradients that could become abrupt bands or flat patches
- Paintings or photographs with meaningful detail immediately above black
BPC may be less consequential in bright, graphic artwork with few shadow tones. It can also be undesirable if its compression produces shadows that appear too open for the intended mood. The right question is not simply whether BPC preserves detail, but whether that mapped detail produces the preferred result in the target print condition.
A practical decision framework
- Identify the exact product and process. Record the provider, printing method, substrate, finish, and any documented color workflow.
- Obtain the provider’s current profile and instructions when available. Confirm whether you should convert the file, embed a profile, or leave conversion to the provider.
- Soft-proof with the intended output profile. Compare BPC on and off while watching important shadows rather than judging only the overall image.
- Compare the appropriate rendering intents. Rendering intent controls the broader gamut-mapping strategy, while BPC specifically affects black-point and shadow handling.
- Check highlights and midtones as well as shadows. A change that reveals a dark texture may also alter overall contrast.
- Submit the format and color space requested by the provider. Do not impose a generic CMYK or PDF recipe over documented production instructions.
- Order a physical proof or representative sample for color-critical work. A soft proof is useful for comparison, but it remains a display simulation.
BPC and rendering intent are separate choices
The ICC recognizes four rendering intents: Perceptual, Saturation, Relative Colorimetric, and Absolute Colorimetric. Rendering intent determines the larger strategy used to handle colors when source and destination gamuts differ. BPC addresses how the black points and dark tonal range are mapped during that conversion.
Relative Colorimetric commonly receives the most attention in BPC discussions because colors inside the destination gamut are generally preserved while out-of-gamut colors are mapped toward the gamut boundary. BPC can then help prevent source shadows below the destination black point from collapsing together. Perceptual rendering applies broader remapping, and its behavior depends on the profiles and color-management implementation.
Do not assume that “Relative plus BPC” or “Perceptual without BPC” is universally correct. Compare the combinations available in your managed workflow. Look at the visual consequence: are dark folds still distinct, has the image lost too much contrast, and does the soft proof remain believable for the selected substrate?
Photoshop-managed printing workflow
When Photoshop is responsible for converting directly to a locally controlled printer, Adobe instructs users to choose the profile for the printer and paper and prevent the printer driver from applying another color conversion. Adobe describes its Black Point Compensation option as preserving shadow detail by simulating the output device’s full dynamic range.
- Open Photoshop’s print settings and choose the option that lets Photoshop manage colors.
- Select the ICC profile that matches the actual printer, ink, paper, and quality mode.
- Choose the rendering intent you intend to evaluate.
- Turn Black Point Compensation on or off and inspect the managed preview or soft proof, paying close attention to near-black details.
- Open the printer-driver settings and disable its color adjustment according to the printer manufacturer’s instructions.
- Confirm paper type, print quality, and other media settings match the selected profile before printing.
The critical principle is to avoid double color management. If Photoshop converts the colors and the printer driver applies another correction, the second conversion can cause an unintended shift. Adobe’s current Photoshop color-managed printing instructions provide the relevant application workflow, but driver labels differ by manufacturer and operating system.
This workflow applies to a Photoshop-managed local print. It should not be copied blindly into Illustrator, InDesign, Acrobat, another application, or a commercial PDF submission. Those workflows may expose different controls or pass the file to another conversion stage.
Commercial printers and web-to-print portals
A commercial printer may ask for an RGB file with an embedded profile, require conversion to a named CMYK condition, supply a PDF preset, or perform conversion in its RIP. A web portal may not expose BPC at all. In these cases, the provider’s documented workflow should determine where color conversion occurs.
Ask the provider which color spaces and profiles it accepts, whether embedded profiles are honored, whether supplied CMYK values are preserved, and whether its RIP performs conversion. Also ask what kind of proof is available. These answers matter more than a universal recommendation to enable BPC during PDF export.
If the provider performs the final conversion, prematurely converting to an unrelated CMYK profile can reduce flexibility and create an unnecessary second conversion. If the provider requires a particular CMYK condition, use its current preset or instructions and evaluate the shadows against that condition. For a complete layout, the InDesign print-file preparation checklist covers the other preflight elements that must accompany color decisions.
Preflight checklist for dark artwork
- The output profile matches the documented printer, process, substrate, and mode.
- The file has not been converted repeatedly between RGB and CMYK profiles.
- Shadow detail exists in the editable artwork rather than only in the monitor preview.
- BPC on and off have been compared where the workflow permits it.
- Rendering intent has been evaluated separately from BPC.
- The intended mood and contrast remain intact after conversion.
- Rich-black objects use a provider-approved build where applicable.
- Registration black is absent from ordinary artwork.
- Only one intended color-management stage performs the conversion.
- A physical proof is approved when dark tonal separation is critical.
Common questions
Does black point compensation make blacks darker?
No. It maps tonal values to the destination’s available black point. The darkest printable black is limited by the physical output condition. BPC may actually open shadows slightly to retain distinctions among dark tones.
Can BPC prevent muddy or blocked-up shadows?
It can help when shadow clipping would otherwise result from a mismatch between source and destination black points. It cannot recover information deleted by editing, compression, or an earlier conversion, and it cannot overcome the substrate’s physical limits.
Should I convert artwork to CMYK myself?
Follow the print provider’s documented workflow. Convert when the provider requires a named CMYK condition and supplies appropriate instructions. If it accepts profiled RGB and performs conversion later, preserving the source color space may provide more flexibility.
Do I need BPC when exporting a PDF?
There is no universal answer. The correct choice depends on whether your export performs a profile conversion and whether the printer expects that conversion from you. A provider-controlled RIP may handle it later, while another workflow may require a fully converted PDF.
The practical takeaway
Use black point compensation as a controlled conversion choice, not a repair tool or a formula for deeper black ink. Begin with the correct output condition, compare the relevant intent and BPC combinations, and judge the effect on meaningful shadow detail. Then follow the provider’s conversion instructions and confirm color-critical work with a physical proof. That sequence gives you a far better chance of preserving the dark jacket, night sky, or charcoal texture that made the artwork work on screen.