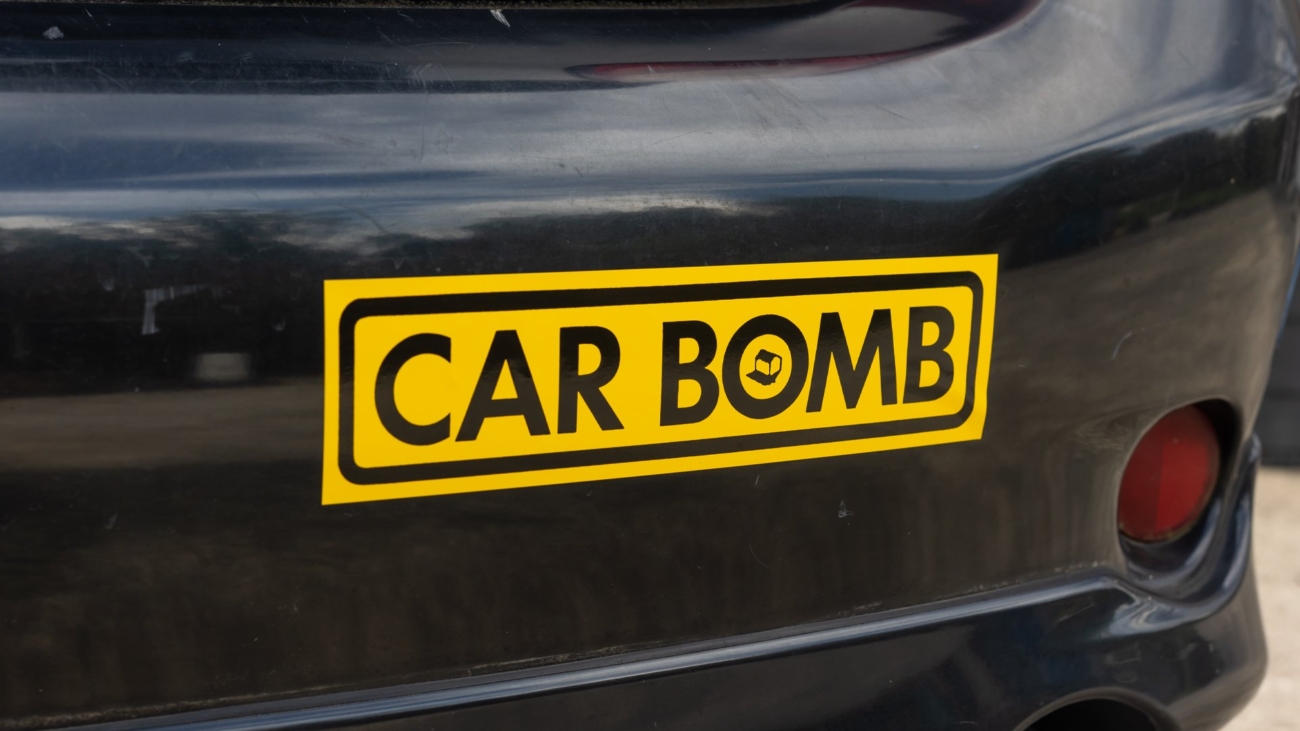
Are you an artist looking for a new and creative way to promote your work? Bumper stickers are a fantastic way to get your art seen by a wide audience. With the right design and printing process, your art can become a moving billboard for your brand. In this article, we’ll guide you through the process of creating custom bumper stickers that showcase your unique style and make a statement on the road.
Step 1: Choose Your Art and Design
The first step in creating custom bumper stickers is to choose the art or design that you want to showcase. This can be an existing piece of artwork, a custom design, or a combination of both. Keep in mind that bumper stickers have limited space, so it’s important to choose a design that is simple and easy to read from a distance.
If you don’t have a design in mind, there are many online resources that offer customizable templates for bumper stickers. Canva and Sticker Mule are two popular options. These platforms allow you to create custom designs from scratch or modify existing templates to fit your needs.
Once you have a design, consider the colors and fonts that you want to use. Choose colors that are bright and eye-catching, but make sure that they don’t clash with the design or text. Similarly, choose a font that is legible and easy to read from a distance.
Step 2: Choose Your Printing Method
There are two main printing methods for bumper stickers: digital printing and screen printing. Digital printing is a more cost-effective option for smaller quantities, while screen printing is better for larger quantities and can provide a higher quality print.
Digital printing involves printing your design onto vinyl or paper with an inkjet printer. This method is best for smaller quantities, as it is more cost-effective and can produce high-quality prints. Screen printing, on the other hand, involves transferring the design onto a stencil, which is then applied to the vinyl or paper. This method is best for larger quantities and can produce a higher quality print.
Step 3: Prepare Your Design for Printing
Before sending your design to be printed, it’s important to make sure that it is properly prepared. This includes checking the resolution, size, and format of the design. Most printers require a resolution of at least 300 DPI for high-quality prints, and the size of the design should be scaled to fit the bumper sticker size.
In addition, make sure that your design is in the correct file format. Most printers require files to be in vector format, such as Adobe Illustrator or EPS files. If you are unsure about the file format, contact the printer to ask for their specific requirements.
Step 4: Choose Your Bumper Sticker Material
There are a variety of materials available for bumper stickers, including vinyl, paper, and static cling. Vinyl is the most popular option, as it is durable and can withstand outdoor weather conditions. Paper stickers are a cheaper option but may not last as long. Static cling stickers can be easily removed and repositioned but are not as durable as vinyl or paper.
When choosing a material, consider the intended use of the bumper sticker. If it will be used outdoors, vinyl is the best option. If it will be used indoors or for a shorter period, paper or static cling may be a better choice.
Step 5: Print and Apply Your Bumper Stickers
Once your design is properly prepared and the bumper sticker material is chosen, it’s time to print and apply your bumper stickers. If you are printing at home, make sure to follow the printer’s instructions for printing onto vinyl or paper. If you are using a printing service, they will typically handle the bumper sticker printing process for you.
After your bumper stickers are printed, it’s time to apply them to your car. Make sure that the surface is clean and dry before applying the sticker. Peel the backing off the sticker and carefully apply it to the surface, using a credit card or similar object to smooth out any air bubbles or wrinkles.
It’s important to note that in some places, it may be illegal to cover your license plate with a bumper sticker. Make sure to check your local laws before applying a sticker to your car.
Step 6: Promote Your Art
Now that you have your custom bumper stickers, it’s time to start promoting your art. Consider giving them away as promotional items or selling them at art fairs or online marketplaces. You can also use them to promote your social media accounts or website, directing interested viewers to see more of your art.
Social media is a powerful tool for promoting your art, and bumper stickers can be a fun and creative way to draw attention to your pages. Consider running a contest or giveaway on social media, encouraging followers to share photos of your bumper stickers in use for a chance to win a prize or discount on your artwork.
Conclusion
Bumper stickers are a creative and effective way to promote your art and brand. By following these steps to create custom designs, choose the right printing method and material, and apply the stickers to your car, you can turn your art into a moving billboard. With a little bit of promotion, you can use your bumper stickers to draw attention to your art and grow your following.

