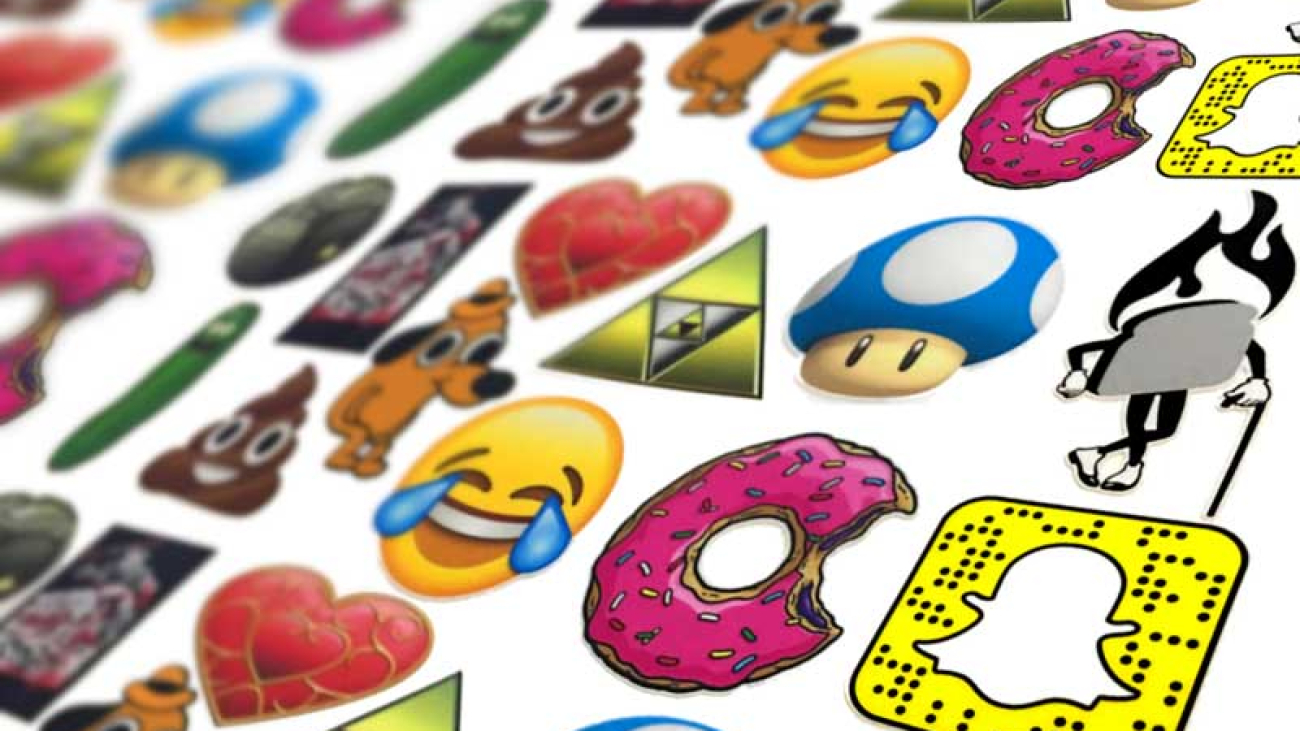
Stickers are a fun and versatile way to express your creativity and promote your brand. Whether you’re an artist, designer, or business owner, creating custom stickers can be a great way to showcase your work and build a loyal following. In this tutorial, we’ll walk you through the process of turning your art into custom stickers, from concept to final product.
Step 1: Choose the Right Sticker Material
The first step in creating custom stickers is to choose the right sticker material. The most popular options include vinyl, paper, and clear polypropylene. Vinyl stickers are durable and weather-resistant, making them a great choice for outdoor use. Paper stickers are less durable but are a more budget-friendly option. Clear polypropylene stickers are great for creating transparent stickers that can be applied to windows or other surfaces.
Step 2: Design Your Sticker
Once you’ve chosen your sticker material, it’s time to design your sticker. You can use various software and tools to create your design, including Adobe Illustrator, Photoshop, and Inkscape. Consider the size, shape, and colors that will work best for your artwork when designing your sticker. Additionally, keep in mind that your design will need to be converted into a vector format, so make sure that your design is simple and easy to trace.
Step 3: Prepare Your Design for Printing
Once your design is complete, it’s time to prepare it for printing. This involves converting your design into a vector format, such as an AI or EPS file. You can do this using a variety of software and tools, including Adobe Illustrator and Inkscape. Additionally, you’ll need to make sure that your design is set up to the correct size and that all colors are in CMYK format.
Step 4: Print and Cut Your Stickers
Once your design is prepared for printing, it’s time to print and cut your stickers. There are several ways to print stickers, including digital printing, screen printing, and letterpress. The method you choose will depend on the size of your order and the complexity of your design.
After your stickers are printed, it’s time to cut them to the correct size and shape. This can be done using a vinyl cutter or a die-cut machine.
Step 5: Apply and Enjoy Your Custom Stickers
Finally, it’s time to apply and enjoy your custom stickers! You can apply your stickers to a variety of surfaces, including walls, windows, laptops, water bottles, and more. Be sure to choose a clean, smooth surface for the best results.
In conclusion, creating custom stickers can be a fun and rewarding experience. With the right materials and a little bit of creativity, you can create stickers that are truly one-of-a-kind. Whether you’re an artist, designer, or business owner, custom stickers are a great way to showcase your work and build a loyal following.

