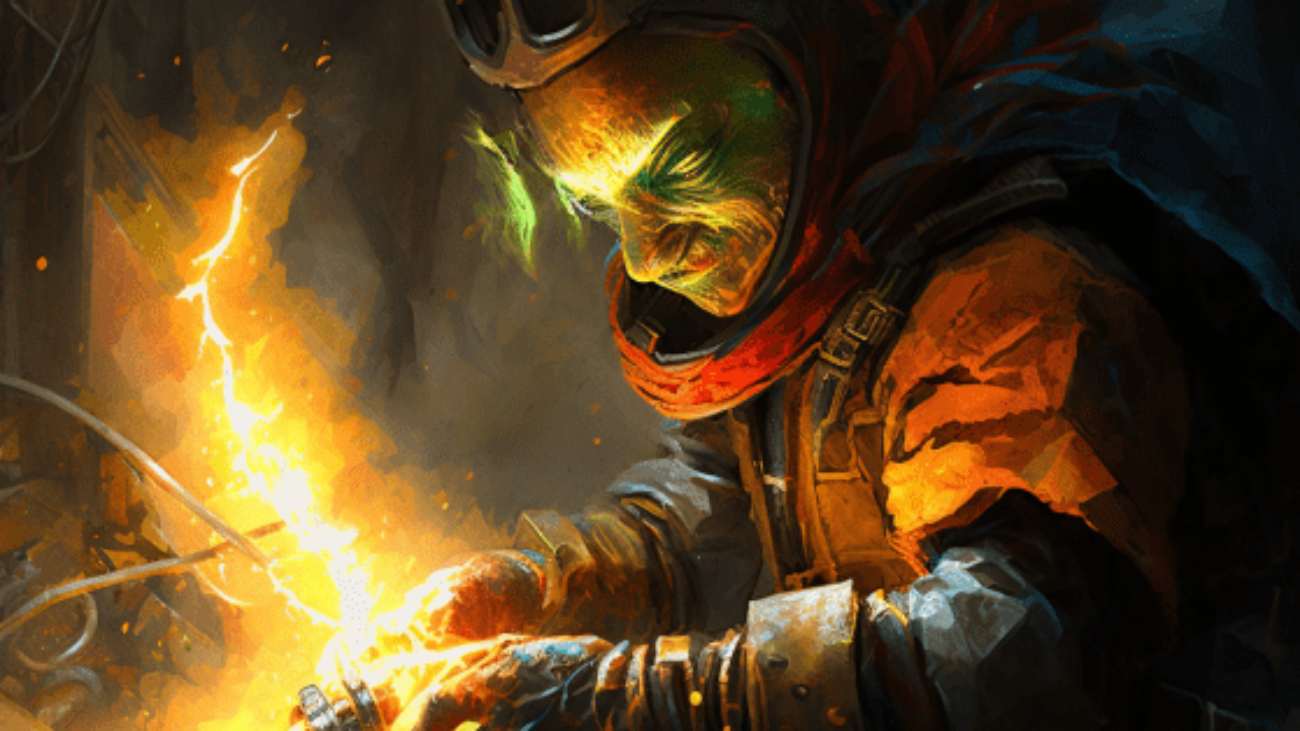
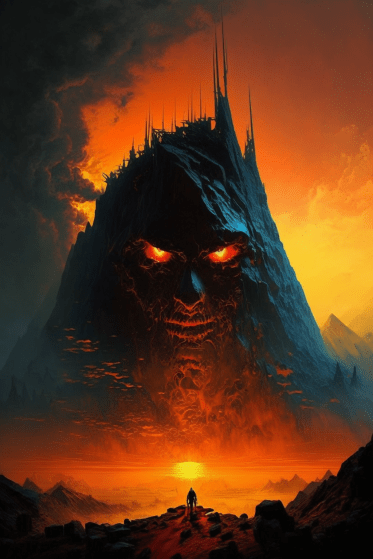
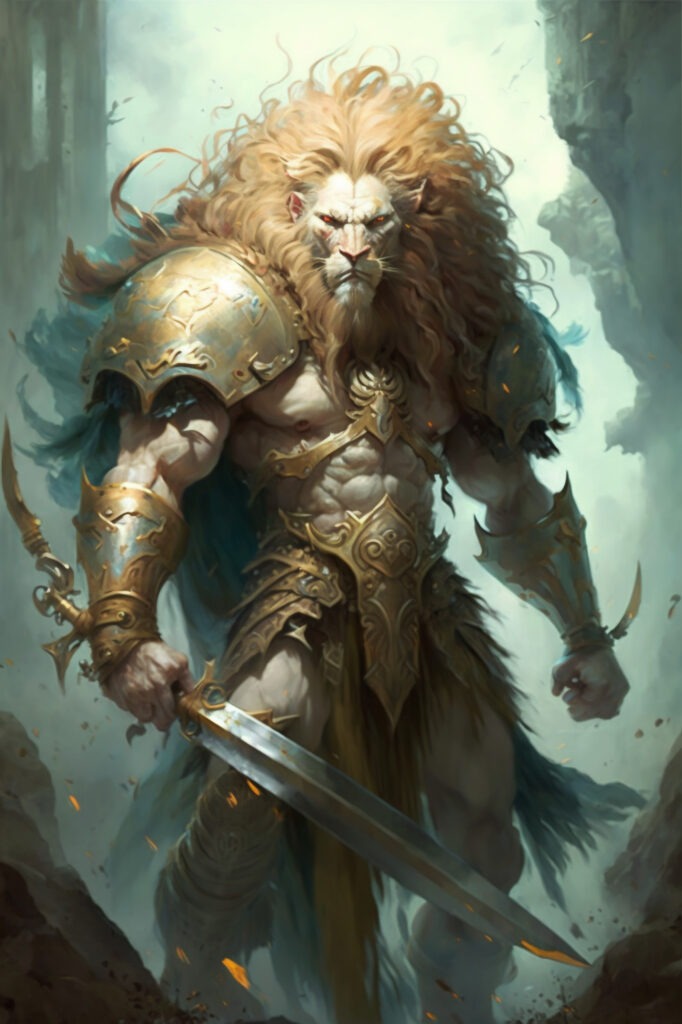
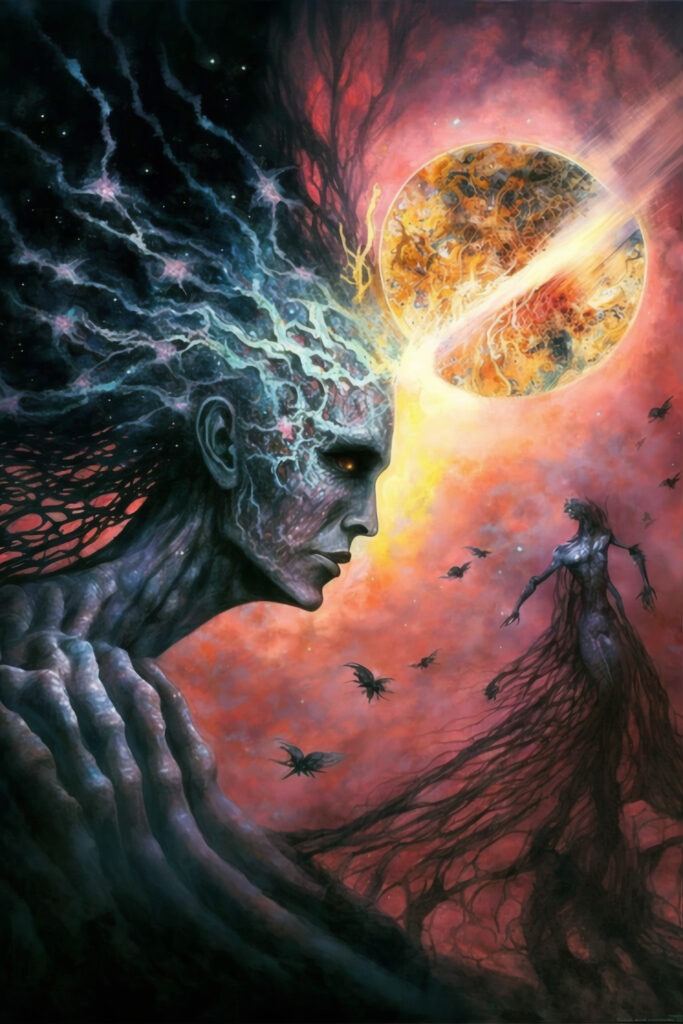
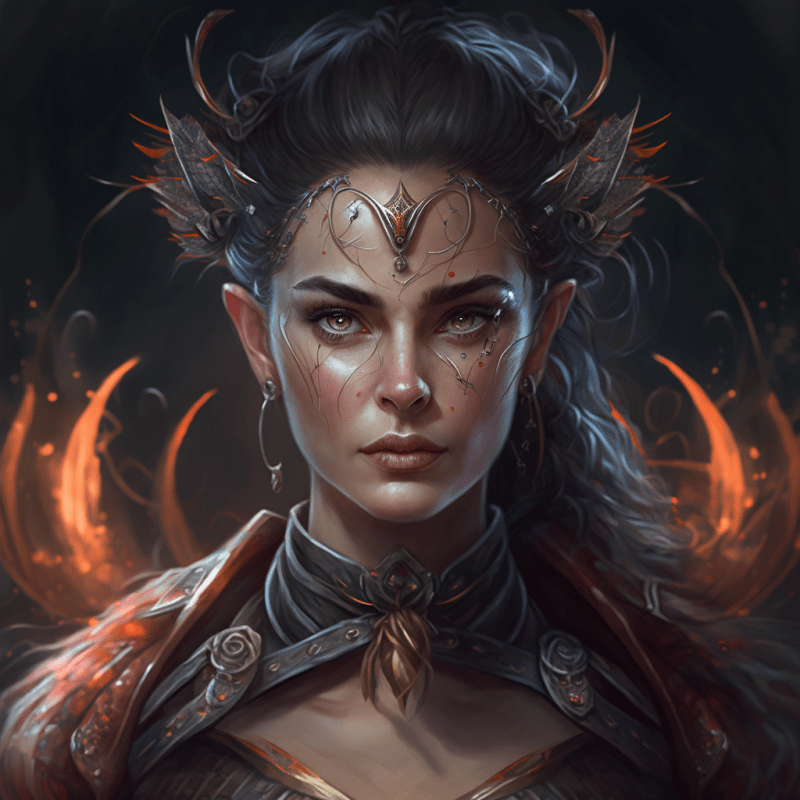
MTG cards feature stunning illustrations that bring the game’s world to life. The art in MTG is diverse, featuring everything from fantastical creatures and landscapes to intricate spells and artifacts. The game’s art is so beloved that many players collect cards for the art alone.
One platform that celebrates the art of MTG is MTG App. This website is a comprehensive database of MTG cards, featuring images of all the cards ever printed. The site is an invaluable resource for players who want to browse card art, build decks, or learn about the game’s history.
MTGapp.com’s card image gallery is one of the most extensive collections of MTG card art available online. Users can browse cards by set, color, rarity, and more, and each card is displayed with its full artwork. The site also offers a card search function, making it easy to find specific cards or themes.
In addition to its card database, MTGapp.com provides a range of tools for MTG players. Users can create and manage decks, track their collection, and use a range of helpful features to improve their game. These features include a card price checker, a probability calculator, and a handy mana curve analyzer.
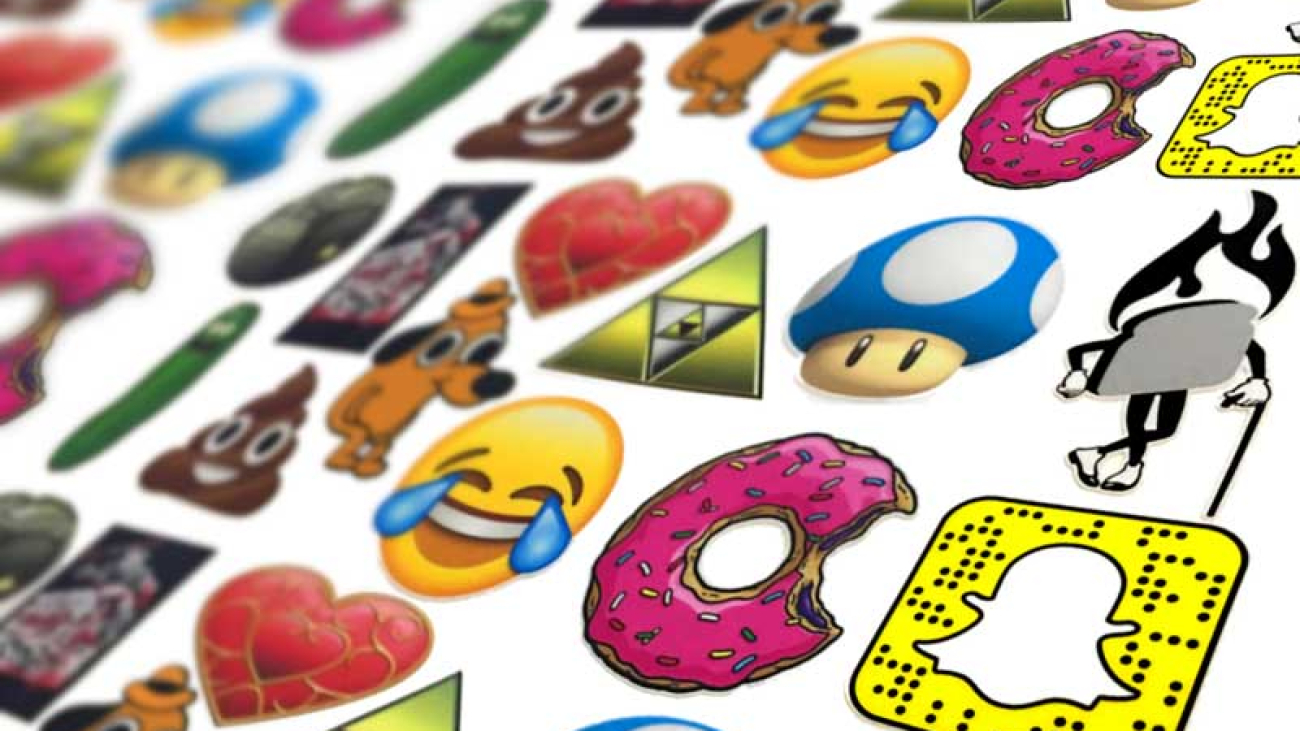
Stickers are a fun and versatile way to express your creativity and promote your brand. Whether you’re an artist, designer, or business owner, creating custom stickers can be a great way to showcase your work and build a loyal following. In this tutorial, we’ll walk you through the process of turning your art into custom stickers, from concept to final product.
Step 1: Choose the Right Sticker Material
The first step in creating custom stickers is to choose the right sticker material. The most popular options include vinyl, paper, and clear polypropylene. Vinyl stickers are durable and weather-resistant, making them a great choice for outdoor use. Paper stickers are less durable but are a more budget-friendly option. Clear polypropylene stickers are great for creating transparent stickers that can be applied to windows or other surfaces.
Step 2: Design Your Sticker
Once you’ve chosen your sticker material, it’s time to design your sticker. You can use various software and tools to create your design, including Adobe Illustrator, Photoshop, and Inkscape. Consider the size, shape, and colors that will work best for your artwork when designing your sticker. Additionally, keep in mind that your design will need to be converted into a vector format, so make sure that your design is simple and easy to trace.
Step 3: Prepare Your Design for Printing
Once your design is complete, it’s time to prepare it for printing. This involves converting your design into a vector format, such as an AI or EPS file. You can do this using a variety of software and tools, including Adobe Illustrator and Inkscape. Additionally, you’ll need to make sure that your design is set up to the correct size and that all colors are in CMYK format.
Step 4: Print and Cut Your Stickers
Once your design is prepared for printing, it’s time to print and cut your stickers. There are several ways to print stickers, including digital printing, screen printing, and letterpress. The method you choose will depend on the size of your order and the complexity of your design.
After your stickers are printed, it’s time to cut them to the correct size and shape. This can be done using a vinyl cutter or a die-cut machine.
Step 5: Apply and Enjoy Your Custom Stickers
Finally, it’s time to apply and enjoy your custom stickers! You can apply your stickers to a variety of surfaces, including walls, windows, laptops, water bottles, and more. Be sure to choose a clean, smooth surface for the best results.
In conclusion, creating custom stickers can be a fun and rewarding experience. With the right materials and a little bit of creativity, you can create stickers that are truly one-of-a-kind. Whether you’re an artist, designer, or business owner, custom stickers are a great way to showcase your work and build a loyal following.
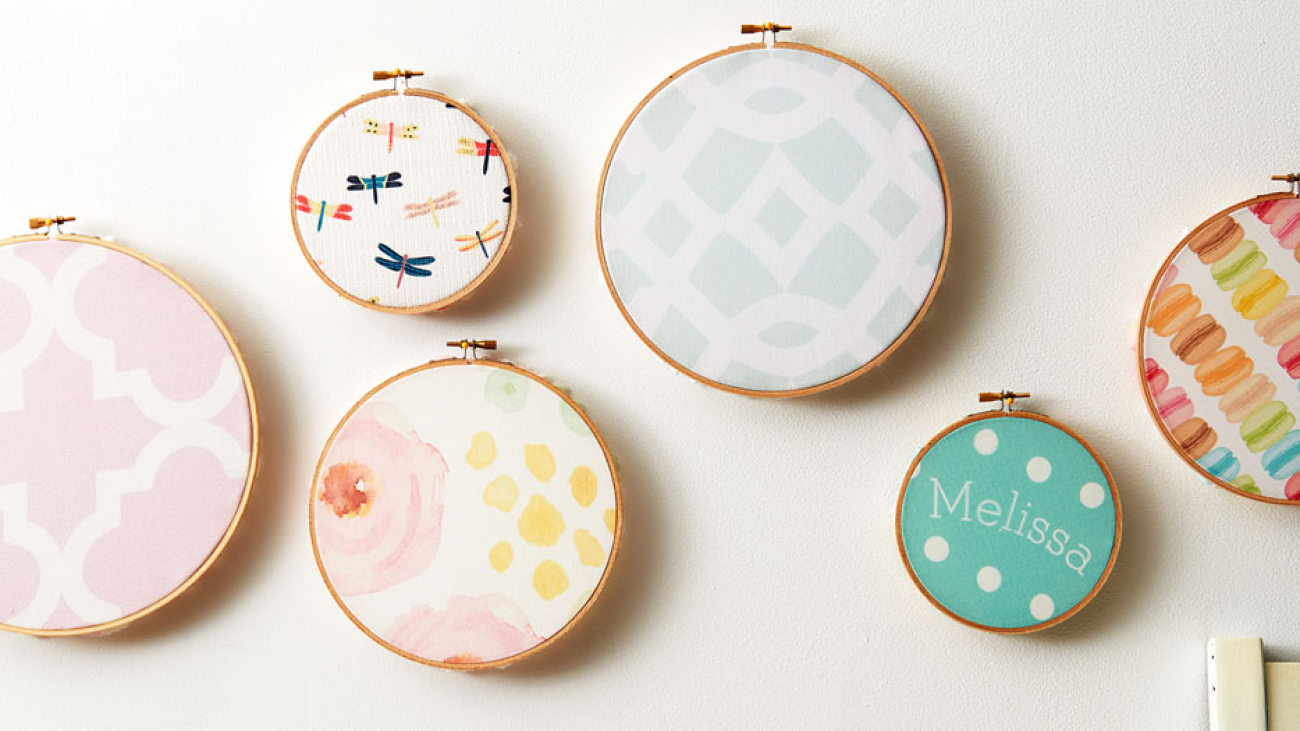
Embroidery hoop art is a fun and creative way to add a personal touch to your home decor. In this tutorial, we will show you how to make a DIY embroidered hoop art piece using basic embroidery techniques.
Materials
Embroidery hoop (5-6 inches in diameter)
Embroidery floss in various colors
Embroidery needle
Fabric (cotton or linen)
Scissors
Pen or fabric marker
Pattern or design of your choice
Instructions
Start by selecting a pattern or design for your embroidered hoop art. You can use a pre-existing design or create your own.
Cut a piece of fabric that is slightly larger than your embroidery hoop.
Place the fabric in the hoop and tighten the screw to secure it. Make sure the fabric is taut and smooth.
Using a pen or fabric marker, trace the design onto the fabric. Make sure to use a light touch so the lines can be easily erased later.
Thread your needle with the embroidery floss of your choice.
Begin embroidering the design using a variety of stitches such as the backstitch, satin stitch, running stitch and French knot. Feel free to experiment with different colors and textures of embroidery floss.
Once you have completed the design, remove the hoop and gently press the fabric to remove any wrinkles.
Trim the fabric around the edges, leaving about 1/4 inch of fabric around the design.
Re-hoop the fabric and tighten the screw. Your DIY embroidered hoop art is now complete!
This DIY embroidered hoop art is a fun and creative way to add a personal touch to your home decor. You can use a pre-existing design or create your own to make it unique. This is a great way to learn some basic embroidery techniques and to experiment with different colors and textures of embroidery floss. The final product can be hung on a wall, or you can use it to decorate a bag, dress or anything you want. It’s a great way to add some personality to your home or make a thoughtful gift for a friend or family member.
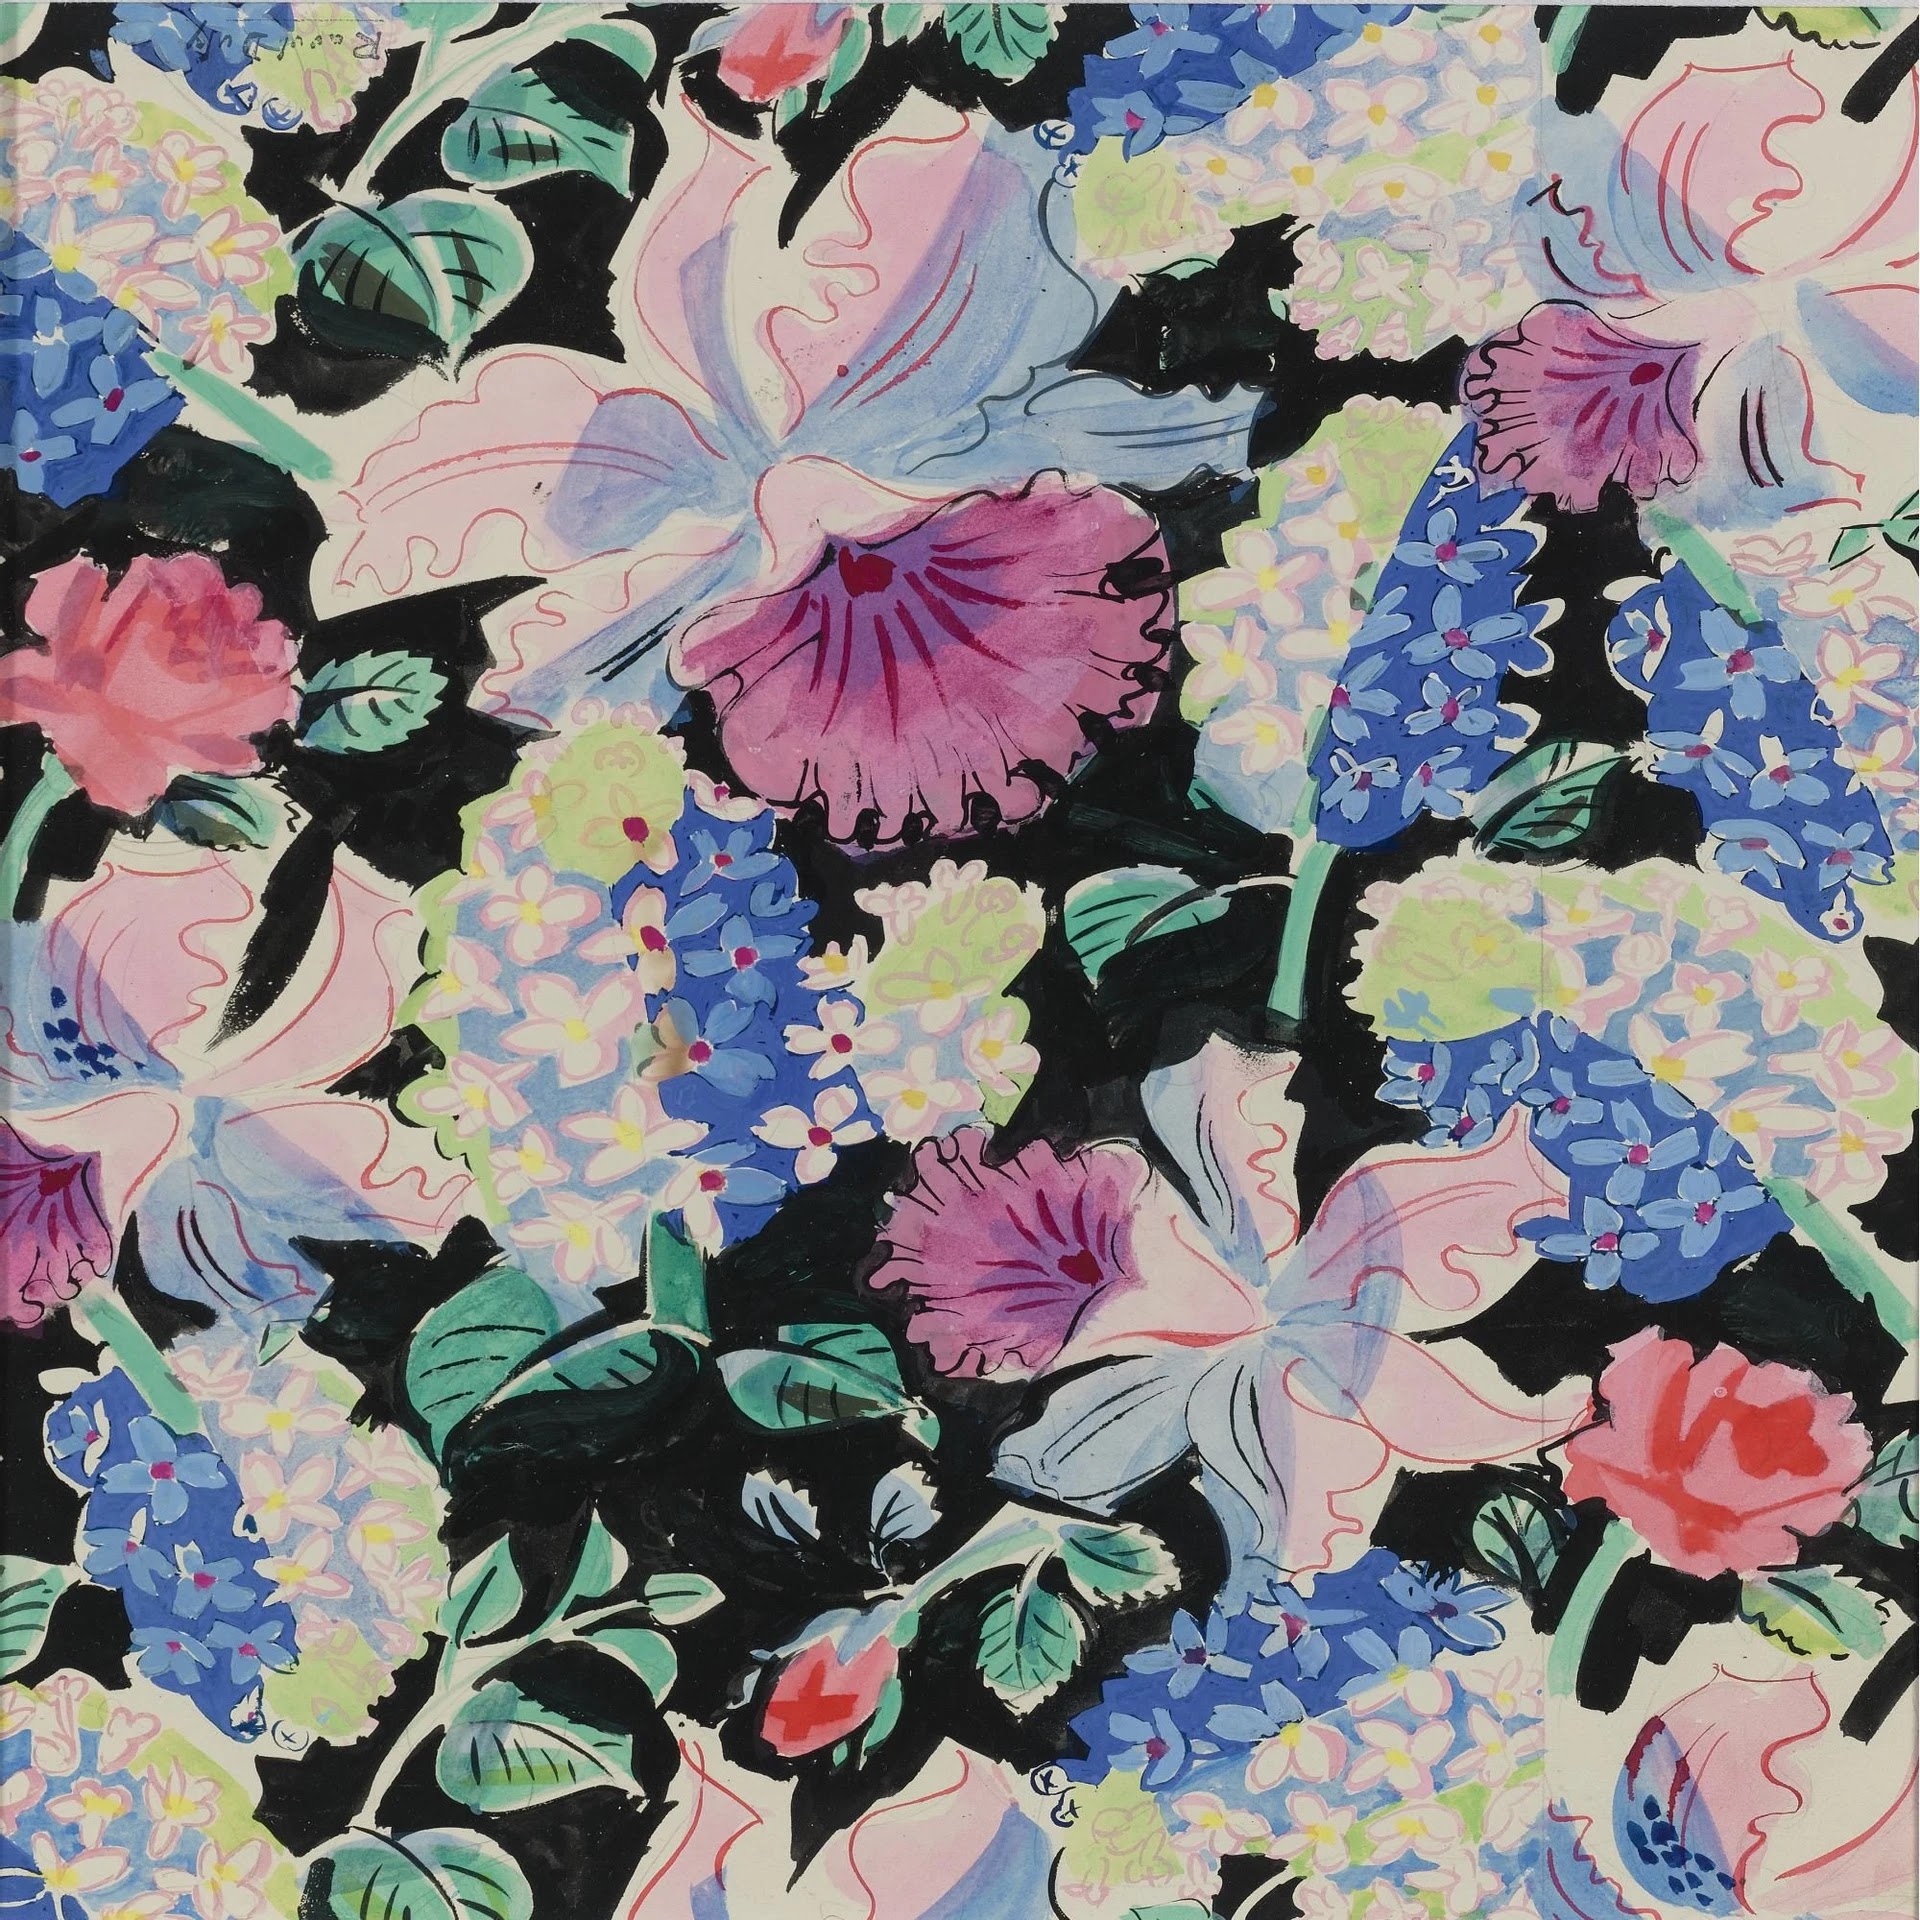
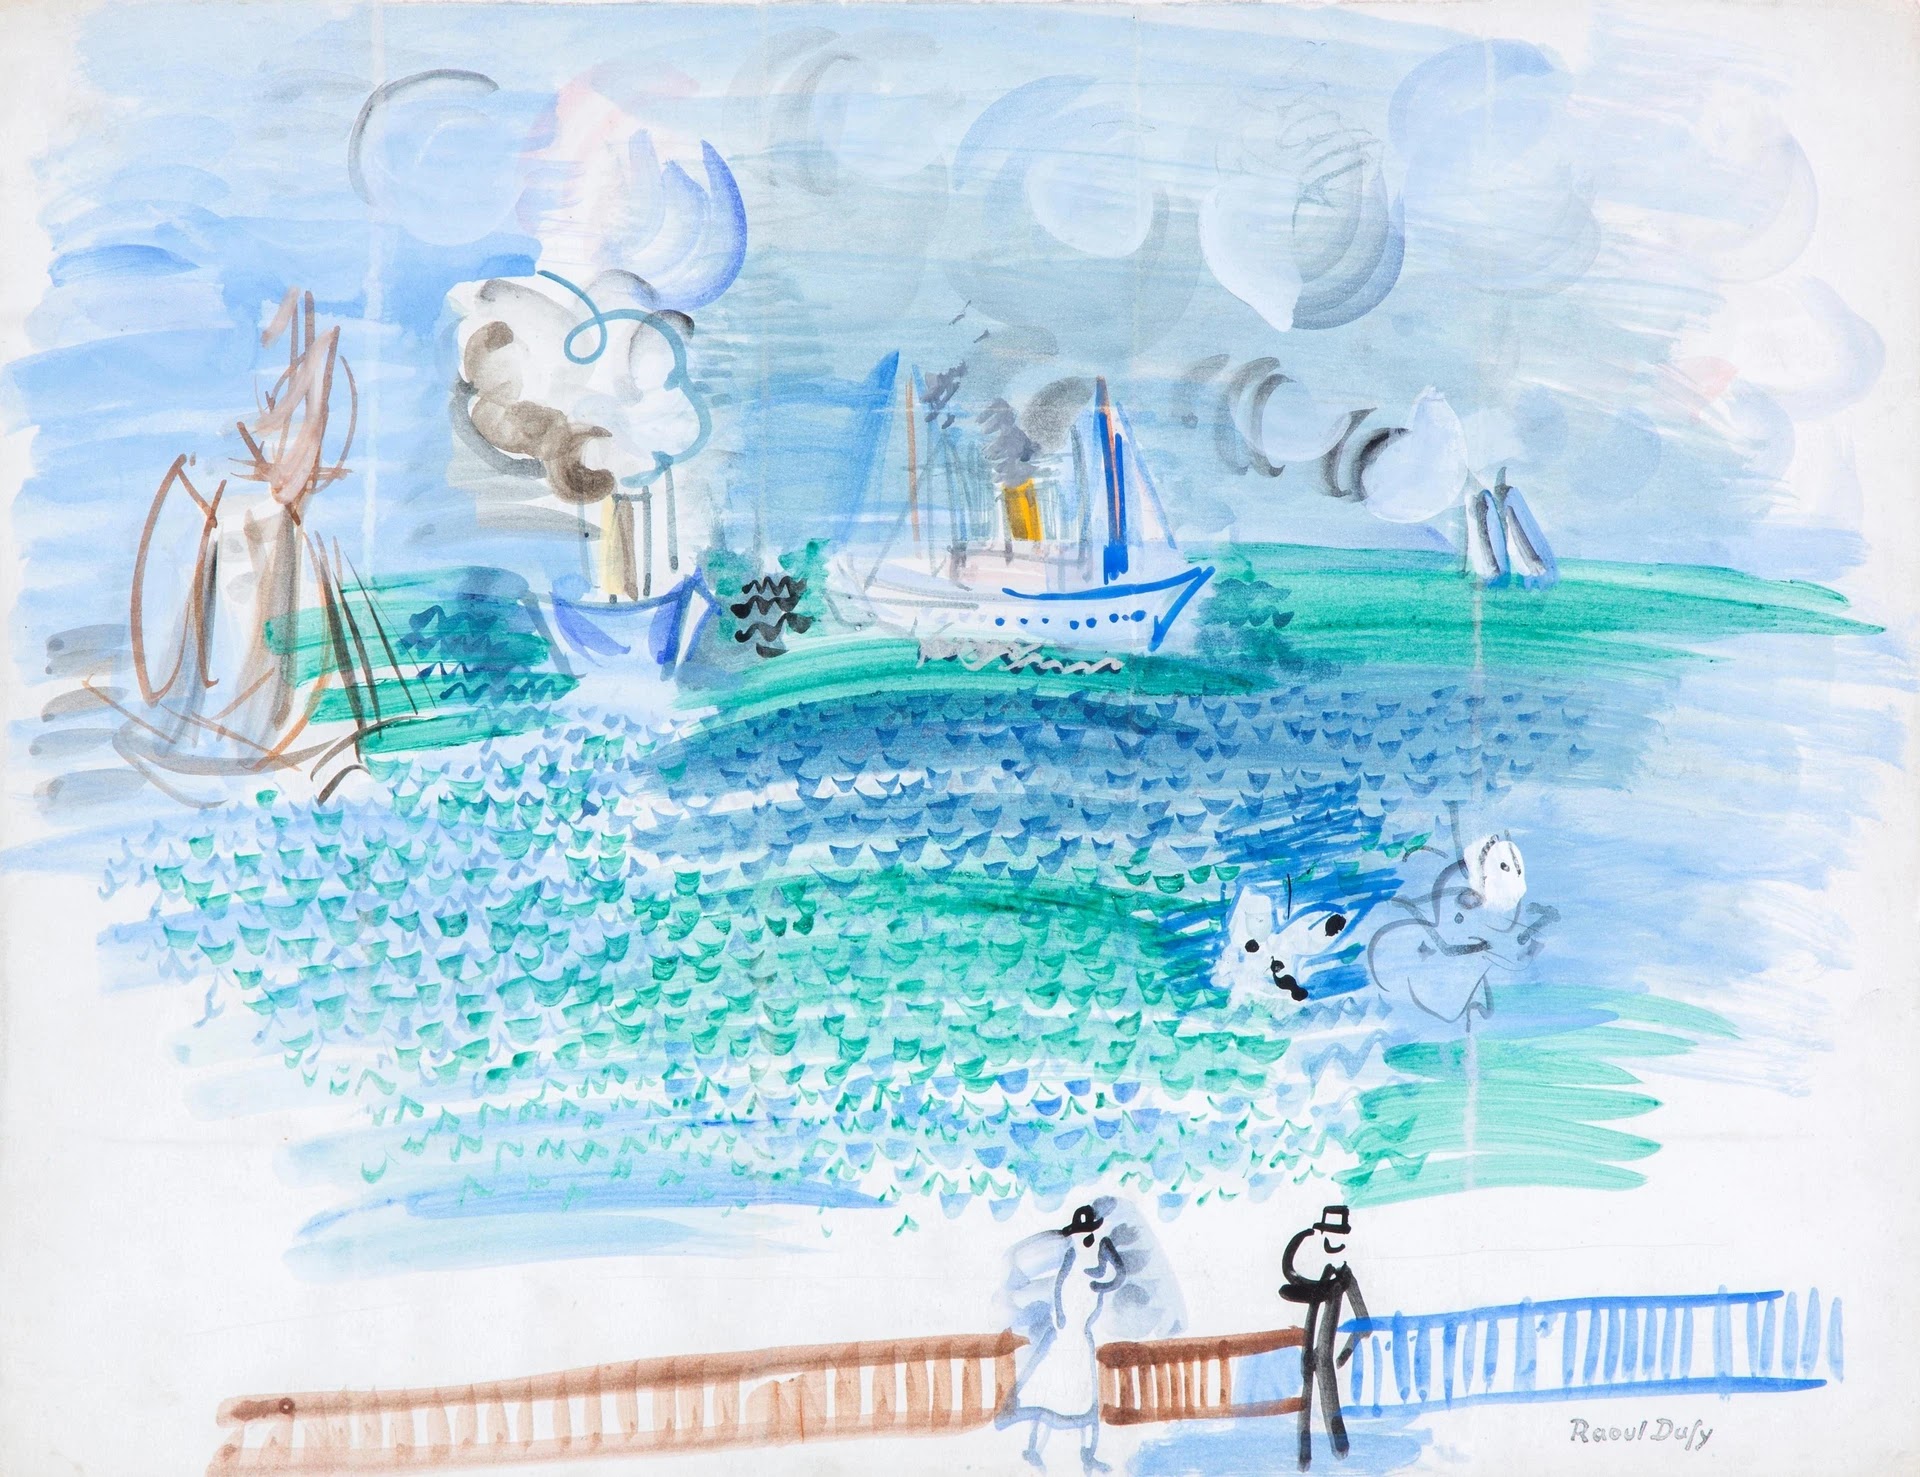
Raoul Dufy (born June 3, 1877, Le Havre, France—died March 23, 1953, Forcalquier), a French painter and designer noted for his brightly colored and highly decorative scenes of luxury and pleasure.
In 1900 Dufy went to Paris to attend the École des Beaux-Arts. He painted in an Impressionist style in his early work, but by 1905 he had begun to employ the broad brushstrokes and bright colors typical of the Fauvre artists. A 1907 exhibition of Paul Cézanne’s work convinced Dufy to adopt temporarily more subdued colors and structured compositions. He worked in a Cubist-influenced style with the painters Georges Braque and Émile-Othon Friesz during 1908 and 1909, but he soon returned to his more carefree Fauvist approach.
Dufy was also a successful artist in other media. In 1910 he produced a series of woodcuts to illustrate poet Guillaume Apollinaire’s Bestiary. He began to create designs for a textile company in 1912, and in the 1920s he designed ceramics and tapestries.
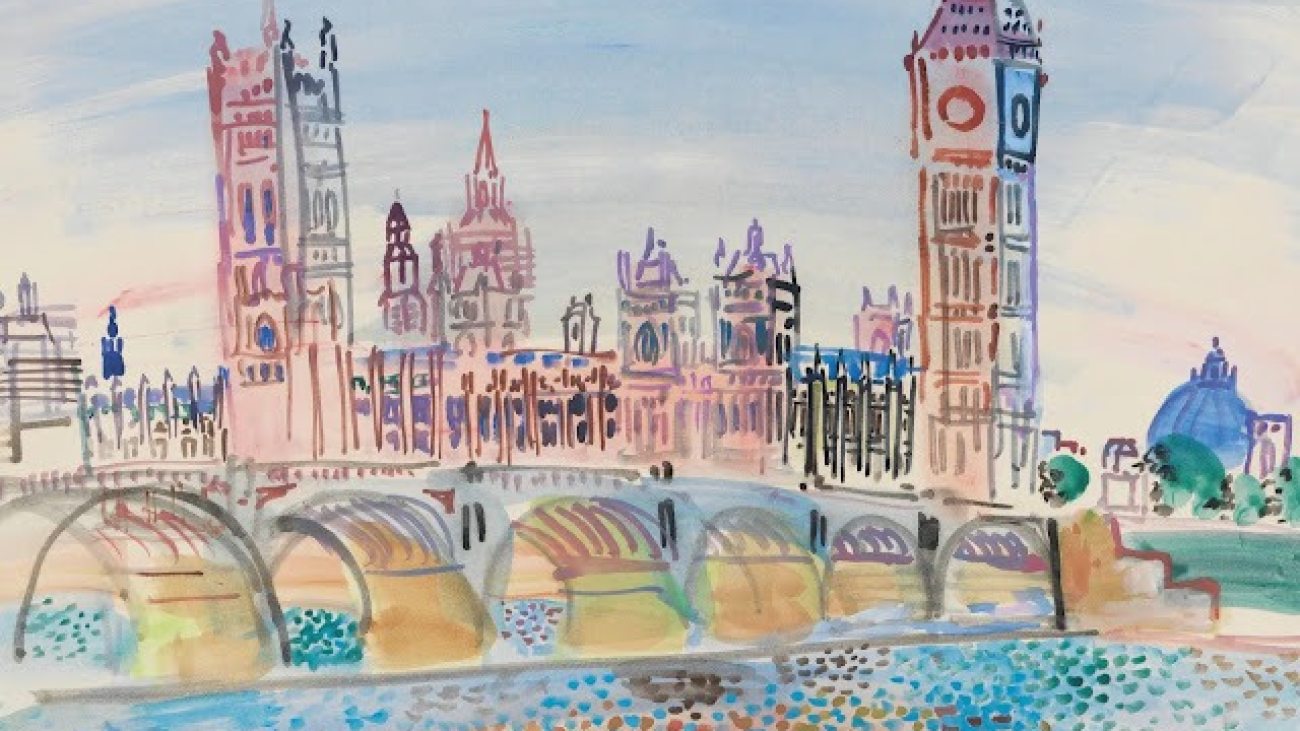
In the early 1920s Dufy rededicated himself to painting and began to produce what are now his best-known works. His distinctive style is characterized by bright colors thinly spread over white ground, with objects sketchily delineated by sensuously undulating lines. Dufy took as his subjects scenes of recreation and spectacle, including horse races, regattas, parades, and concerts. He spent much of his time on the French Riviera and produced a series of paintings of Nice (1927), the Bois de Boulogne (1929), and Deauville (1930). He also worked as an illustrator and printmaker, creating whimsically drawn etchings and lithographs in the 1920s and ’30s. Though very popular, his lively, carefree, elegant paintings have been criticized as occasionally bordering on the superficial.
This part 8 of 18 on the works of Raoul Dufy:
1927 Arcades at Vallauris gouache on paper 50.5 x 65.9 cm
1927 Arcades at Vallauris oil on canvas 73 x 92 cm Emil Bührle Bührle Collection, Zurich
1927 Carnival in Nice oil on canvas 38.1 x 45.7 cm
1927 Cistern at Golfe-Juan watercolour and brush and ink on paper 50.5 x 65.6 cm
1927 Fountain at Hyères oil and gouache on canvas 80.6 x 65 cm
1927 Marianne’s Guestbook gouache and watercolour 30.3 x 43.5 cm
1927 The Golfe-Juan Pine and Sailboats oil on canvas 59.5 x 72.3 cm
1927 The Louis XIII Farm gouache and watercolour on paper 50.2 x 65.4 cm
1927 The Pine oil on canvas 73 x 92 cm
1927 The Reservoir at Golfe-Juan, with a Bird oil on canvas 81.6 x 100.5 cm
1927 The Yacht Basin at Deauville oil on canvas 27 x 70 cm
1927 Undergrowth in Vallauris oil on canvas 54.3 x 46 cm


,%20New%20York%20:%20ADAGP,%20Paris.jpg)
,%20New%20York%20:%20ADAGP,%20Paris.jpg)